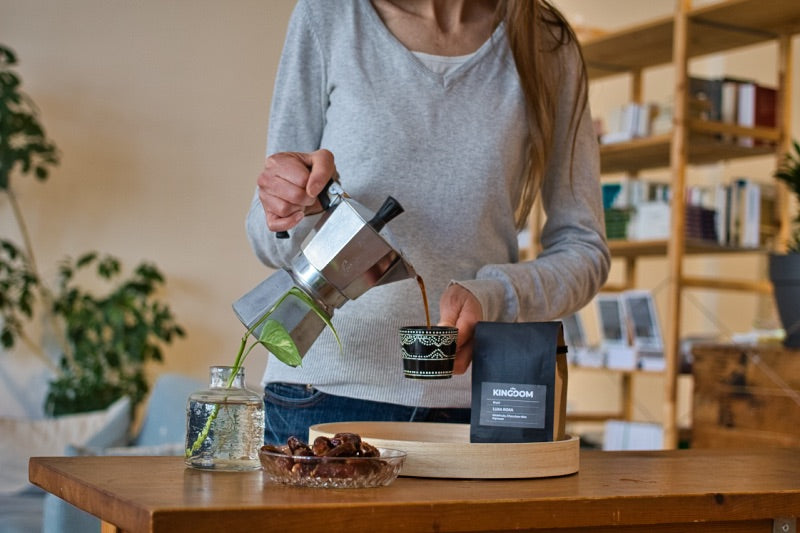
Moka Pot bialetti Brew Guide
Invented by the Italian Alfonso Bialetti in 1933 and named after the city of Mocha in Yemen, the Moka Pot Bialetti is a timeless classic brewer that has stood the test of time. What we love about a Moka Pot is the feeling of having a simplistic, no-fuss Italian cup of coffee. It is a rich, full-bodied mouthfeel with intense flavour and aromas. When touring Italy, even with a small kitchen, you will almost always find a Mokka pot somewhere in a cupboard.
WHAT YOU'LL NEED
Bialetti Moka Pot
Kettle
Grinder
Fresh Coffee beans
Filtered water
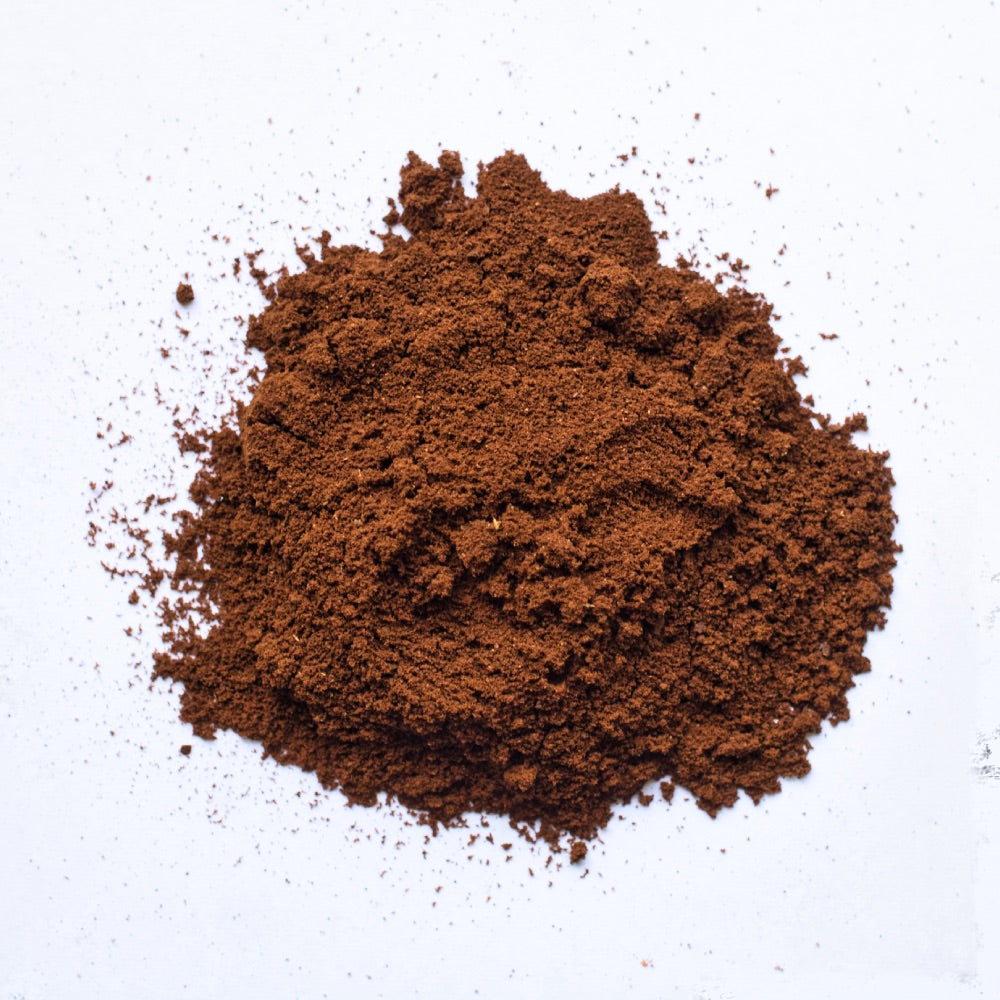
Grind size: Medium Fine (Espresso grind size)
Water temperature: 96°C
Brew time: When it stops making noise the bottom chamber will be empty
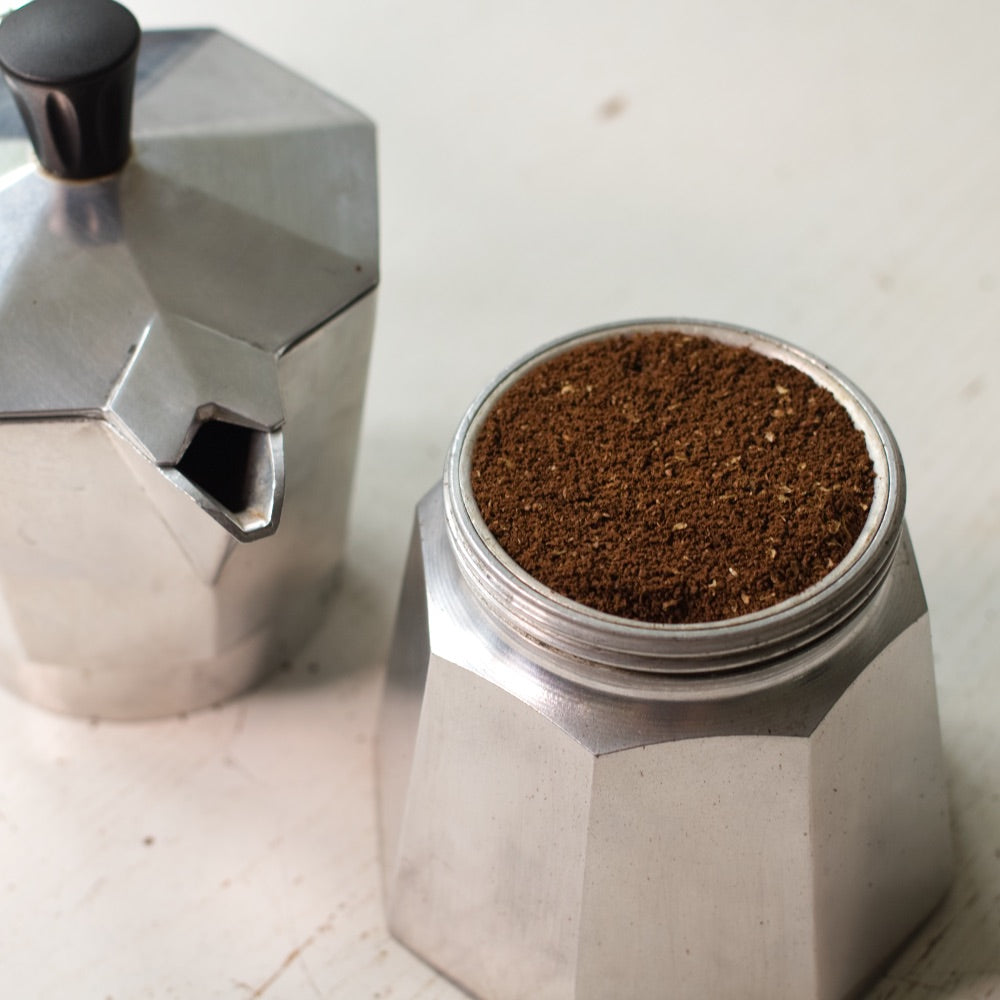
Tip: We recommend freshly ground beans for the best flavour experience. Refrain from tamping the coffee in a Moka Pot- it will lead to over-extraction. Just level the bed for even extraction and prevent grinds on the rim from causing water leakage.
Tip: Typically, when using Moka pots, fill the basket and level it, but don't hesitate to experiment with your preferred coffee-to-water ratio until you achieve the perfect cup for your taste. Keep in mind that this ratio may vary depending on the type of coffee you're using; for instance, a lighter roast may necessitate a higher coffee-to-water ratio.
STEP 1:
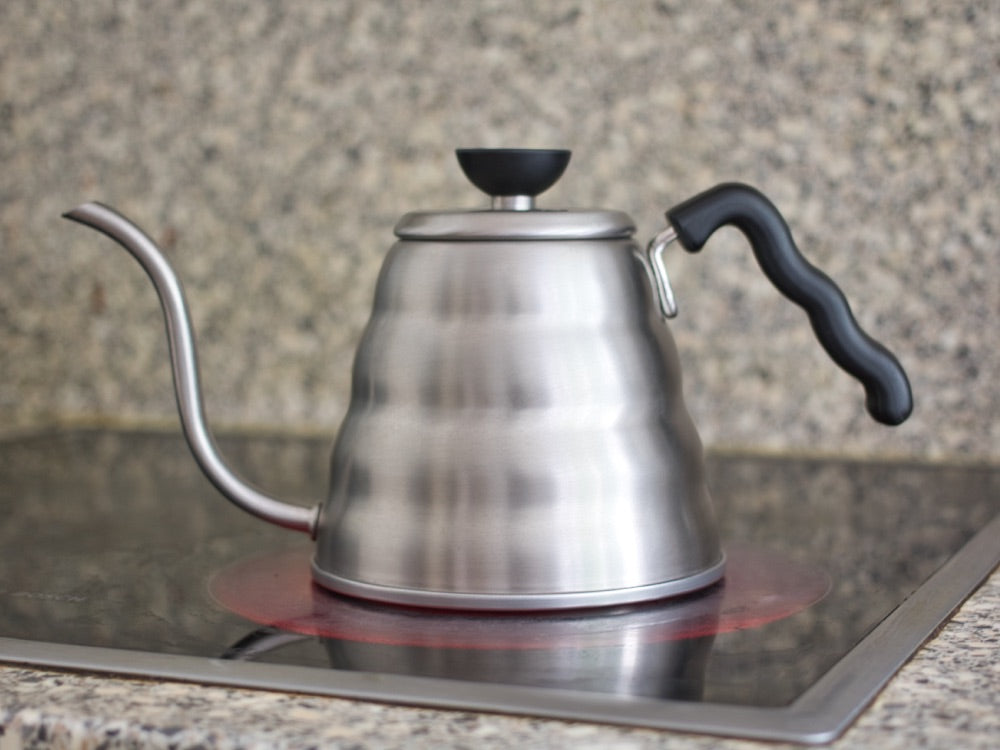
We recommend that you boil water in your kettle of choice to reduce the brewing time of the Bialetti on the stove. However, the Bialetti can also be filled with cold water should you not desire the extra effort early in the morning.
Tip: If you struggle with bitterness, pre-heat your water as originally advised and reduce your bottom water slightly.
STEP 2:
Weigh and grind your coffee to medium fine. We recommend you grind the coffee as close to brewing as possible so that no aromas are lost.
STEP 3:
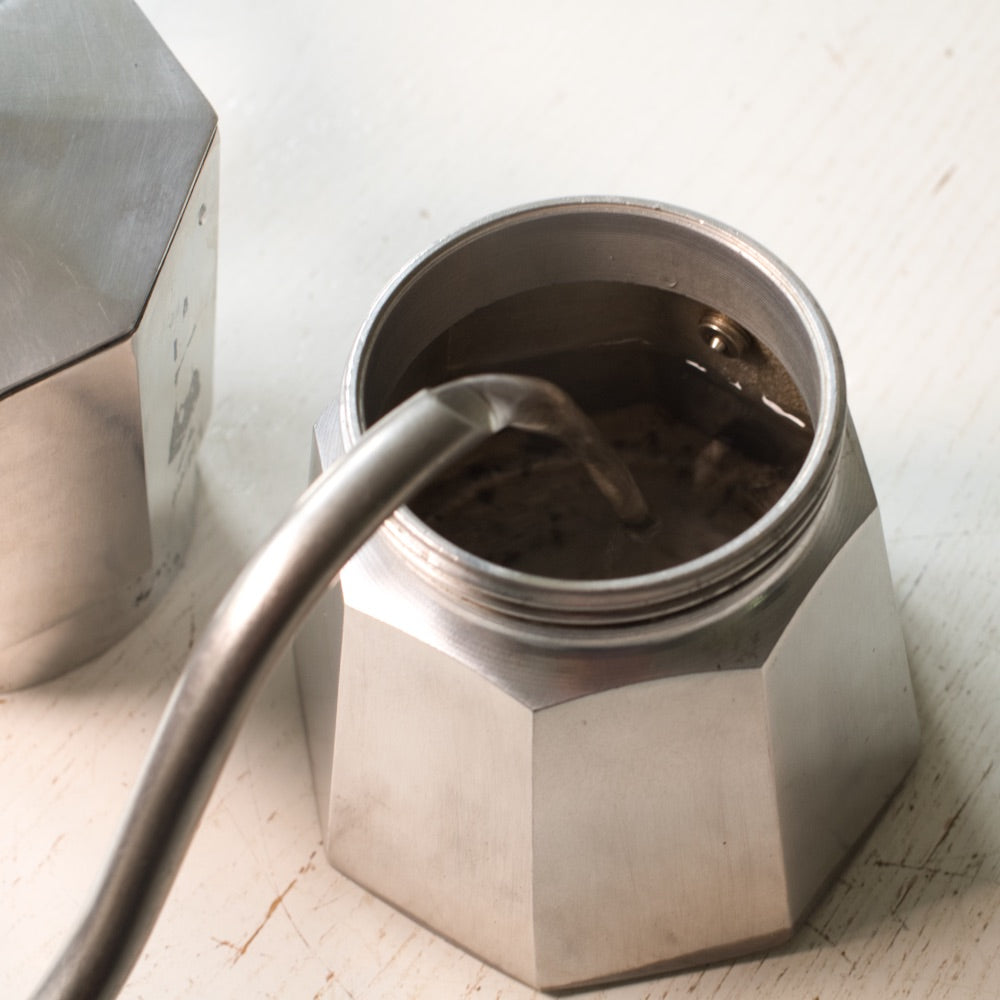
Once your kettle comes to a boil, pour the boiling water into the bottom of the Moka pot, making sure you fill the pot to just below the safety valve. The water should not be over the pressure release valve, as this can cause a safety hazard.
STEP 4
Place the filter inside the bottom part of the Moka Pot. When placing the coffee inside the filter, do not tamp or press down the coffee, as this can lead to over-extraction. Level then coffee bed by lightly tapping the base on the kitchen counter, or use a straight object to level the coffee bed and remove access coffee. Ensure that there is no ground on the rim of the filter to ensure a proper seal.
STEP 5
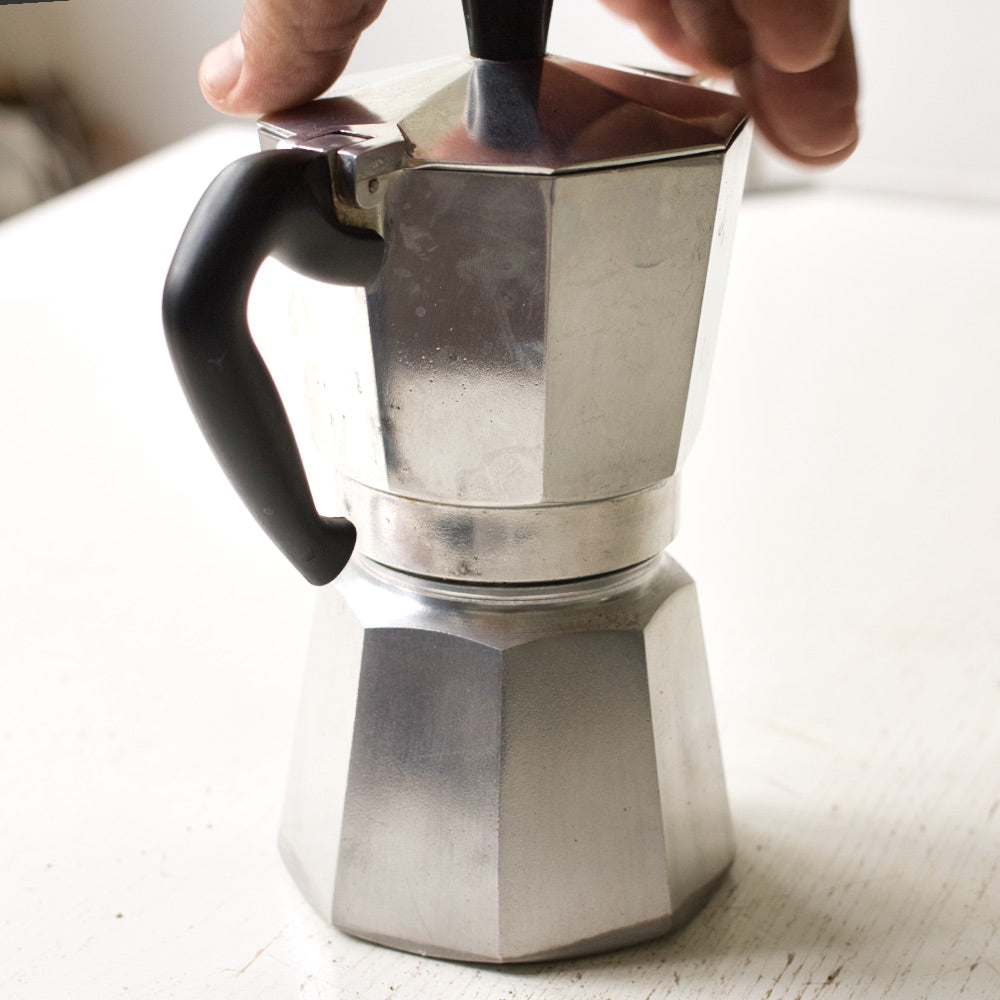
Since the bottom is hot, use a cloth or heatproof glove for the next step. Screw the head of the Moka pot onto the base, ensuring that you have a proper hand-tight seal and place it on the stove.
STEP 6
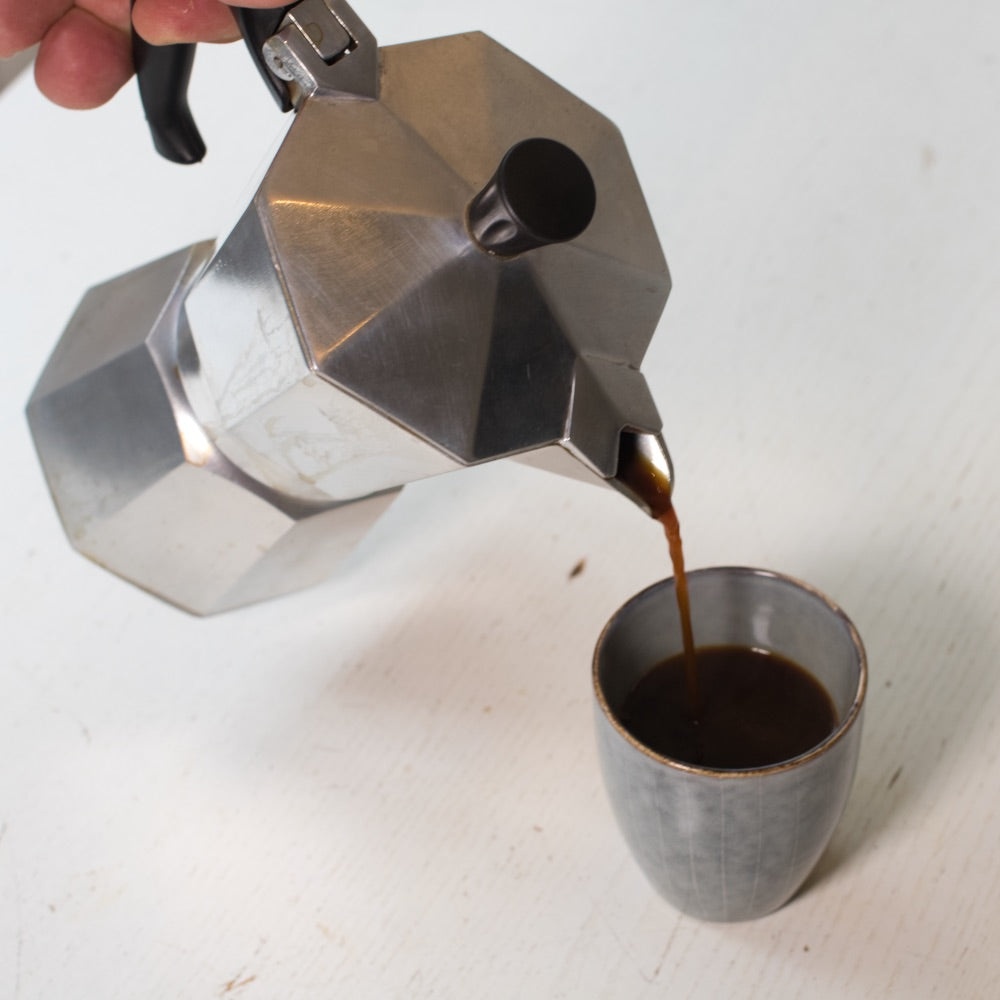
We suggest a lower heat to ensure that the coffee comes out of the spout at a slow to medium speed. If it comes spattering out, the heat was too high, and the extraction was too fast. Once the coffee starts pouring through the spout, remove the Mokka pot from the stove or lower the heat to the lowest setting. Carefully swirl the coffee and stir with a spoon to ensure that all flavour levels are mixed together.

STEP 7
Pour and enjoy a fresh pot of Moka coffee to start your day.
Sour coffee means your coffee is under-extracted. Consider grinding finer.
Bitter coffee means your coffee is over-extracted. Consider grinding coarser.


