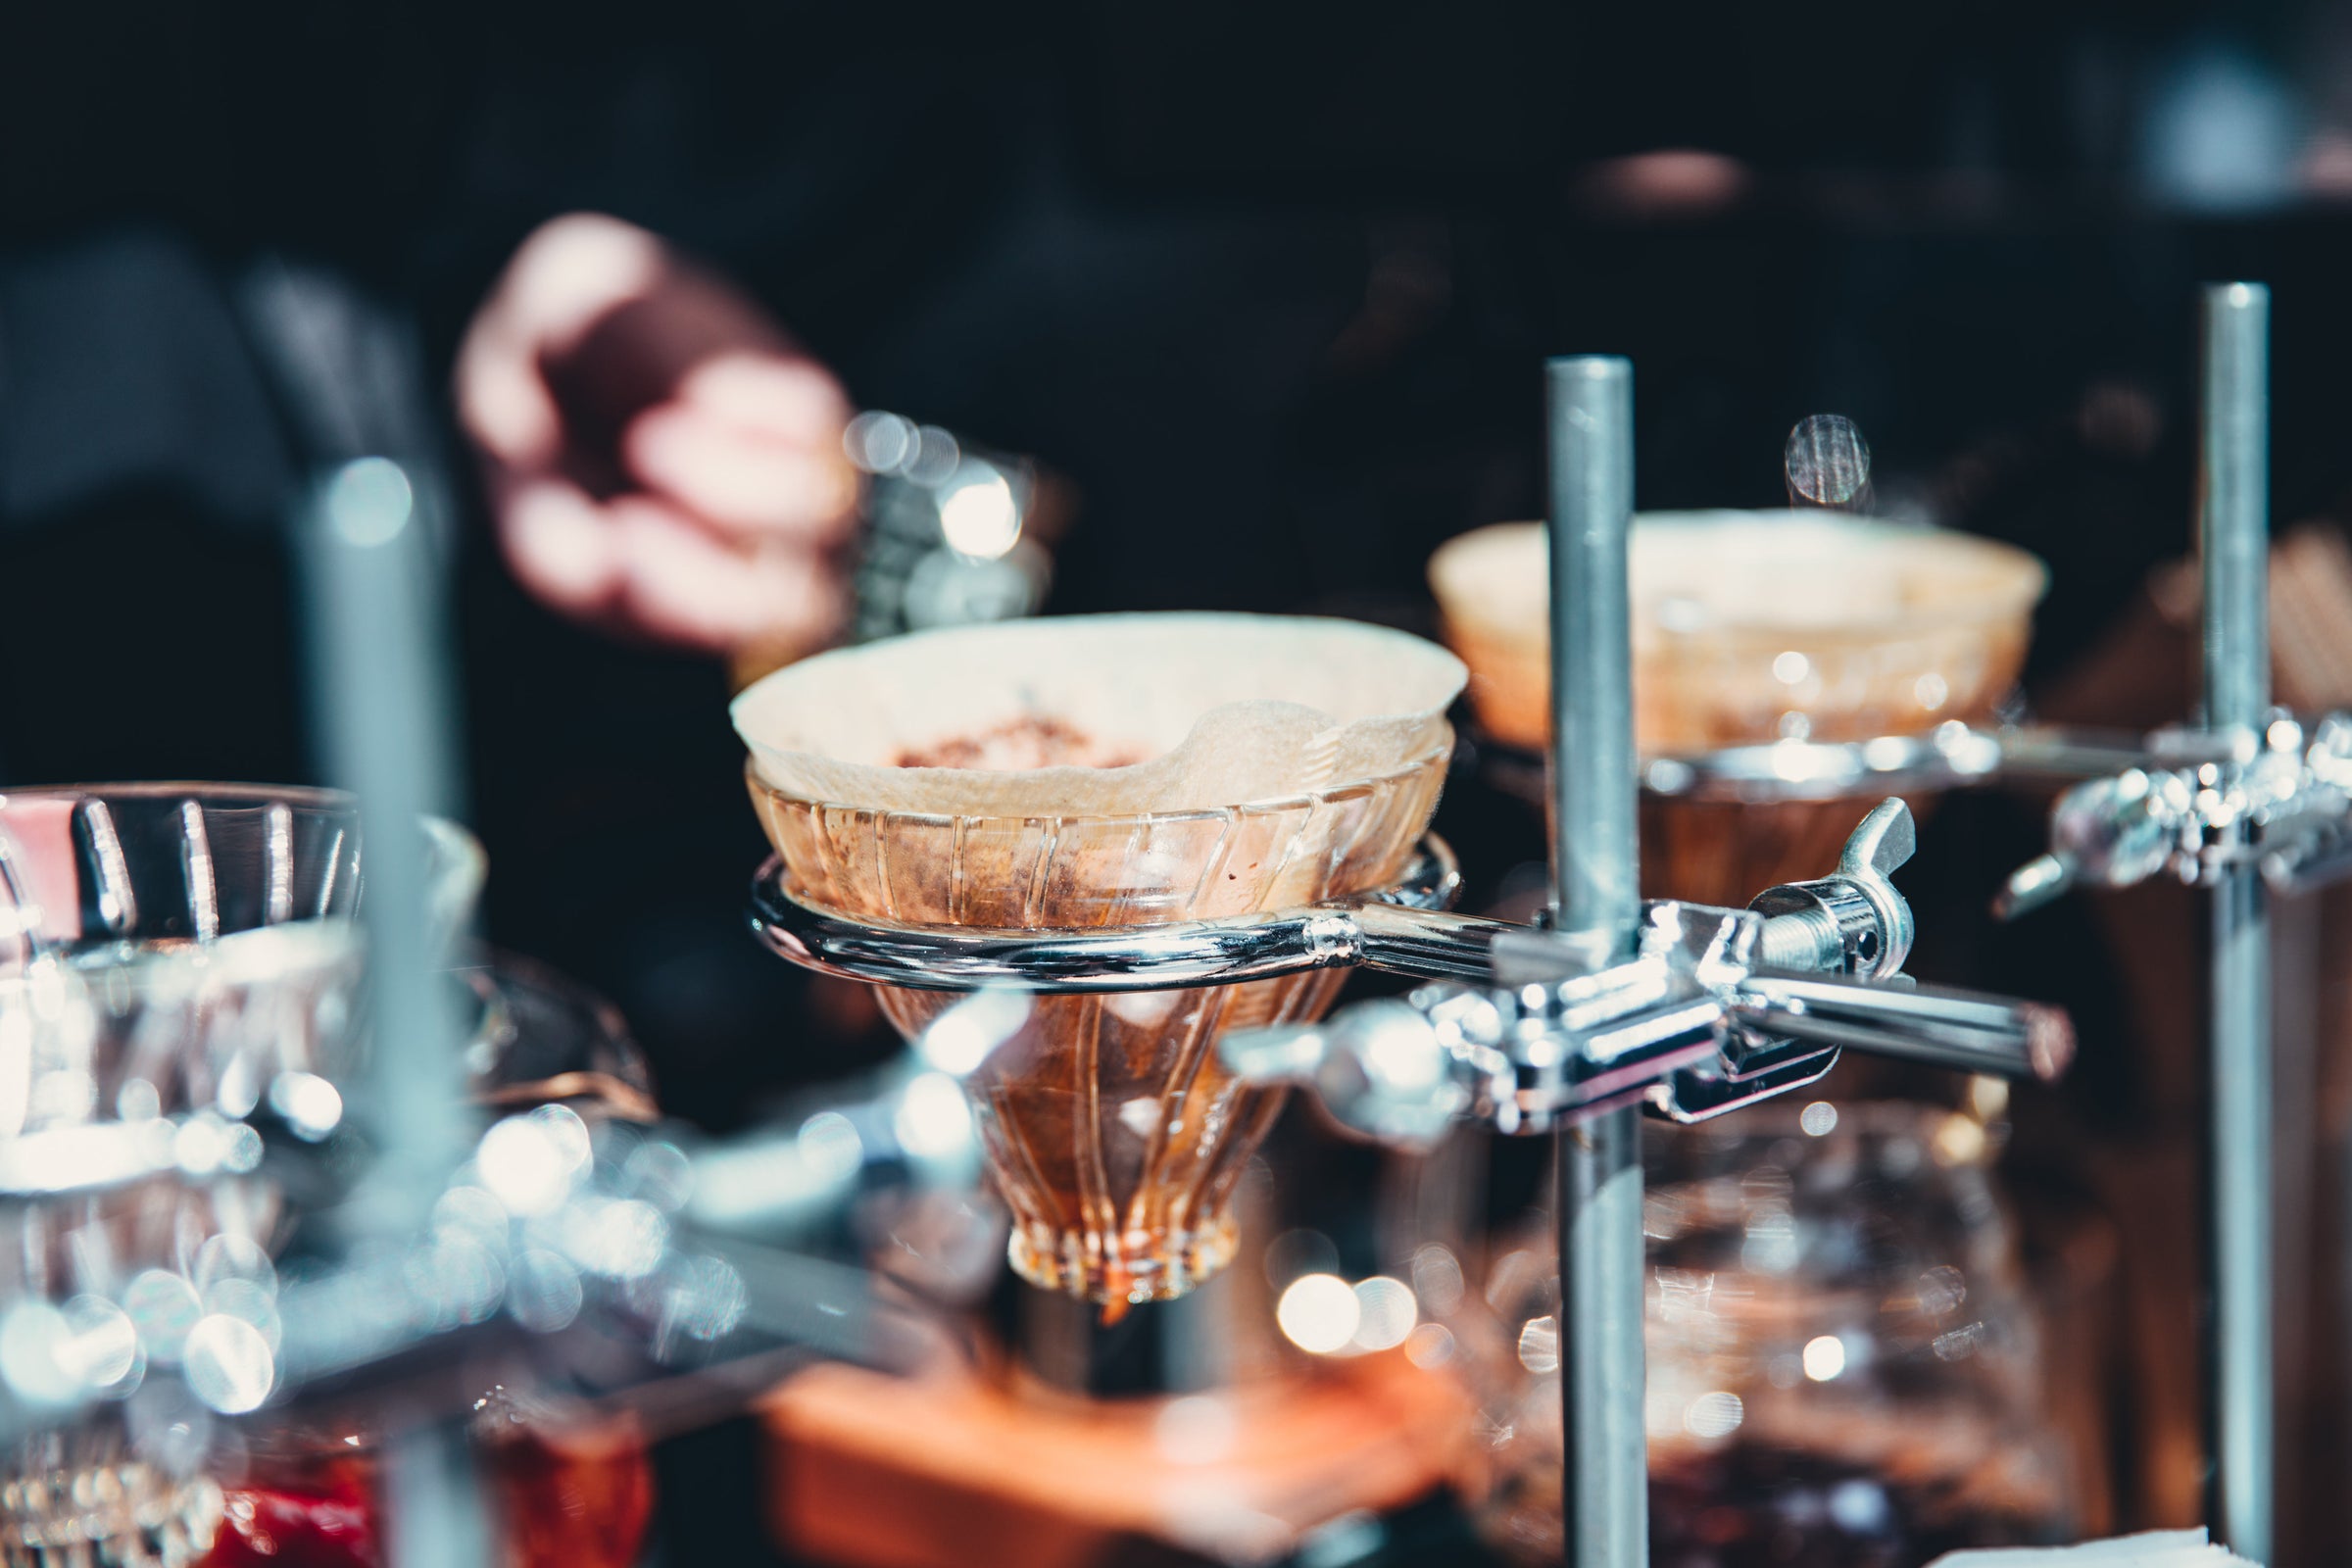
HARIO V60 BREW GUIDE
The Hario company was founded in Japan in Kanda Sudacho, Tokyo, in 1921 by its founder, Hiromu Shibata. Hario was originally a laboratory glassware manufacturer. The V60, invented in the 1950s, was only released commercially in 2005. The Hario V60 dripper derives its name from its V shape and 60-degree angle.
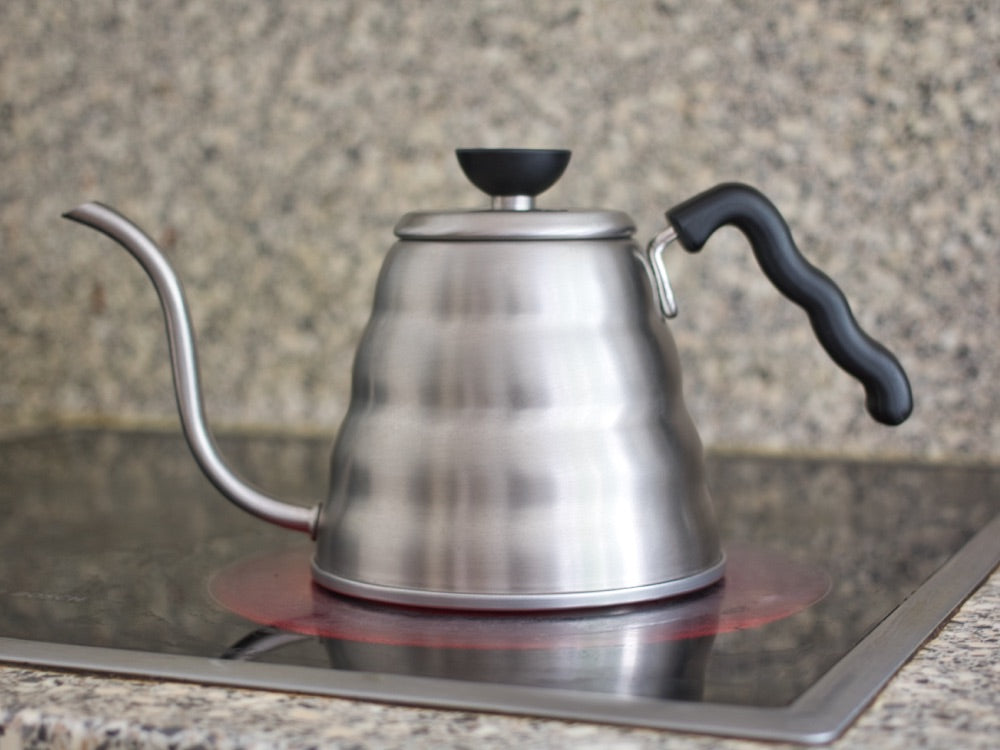
When I feel like a clear, delicate, complex cup, this would be my preferred brew. A great time for me is early morning or a quiet Sunday afternoon. No technology has been switched on - just me-time and a wonderful cup of coffee. There are no machines, no noisy grinders. I grind with my hand grinder and use my gooseneck kettle on the stovetop. It is a time of day lived peacefully and as simplistically as possible.
We encourage you to be creative, try different origins and varieties, play with grind size, brew times and brew ratio until you find your signature cup of coffee.
WHAT YOU'LL NEED
Hario V60 Dripper 01/02
Hario V60 filters paper 01/02
Cup or pitcher
Kettle
Grinder
Fresh Coffee beans
Filtered/bottled water
Digital scale
Timer
V60 size 01
Grind size: Medium
Dose: 16g
Filtered Water: 250ml
Water temperature: 90-96 °C
Brew time: 2:30 – 3:00min
V60 size 02
Grind size: Medium
Dose: 32g
Filtered Water: 500ml
Water temperature: 92-96 °C
Brew time: 3:30 – 4:00min
Tip: We recommend freshly ground beans for the best flavour experience.
STEP 1:
Boil water in the kettle of your choice, then allow it to cool to approximately 96°C, just below boiling point. We prefer using a gooseneck kettle for Hario V60.
STEP 2:
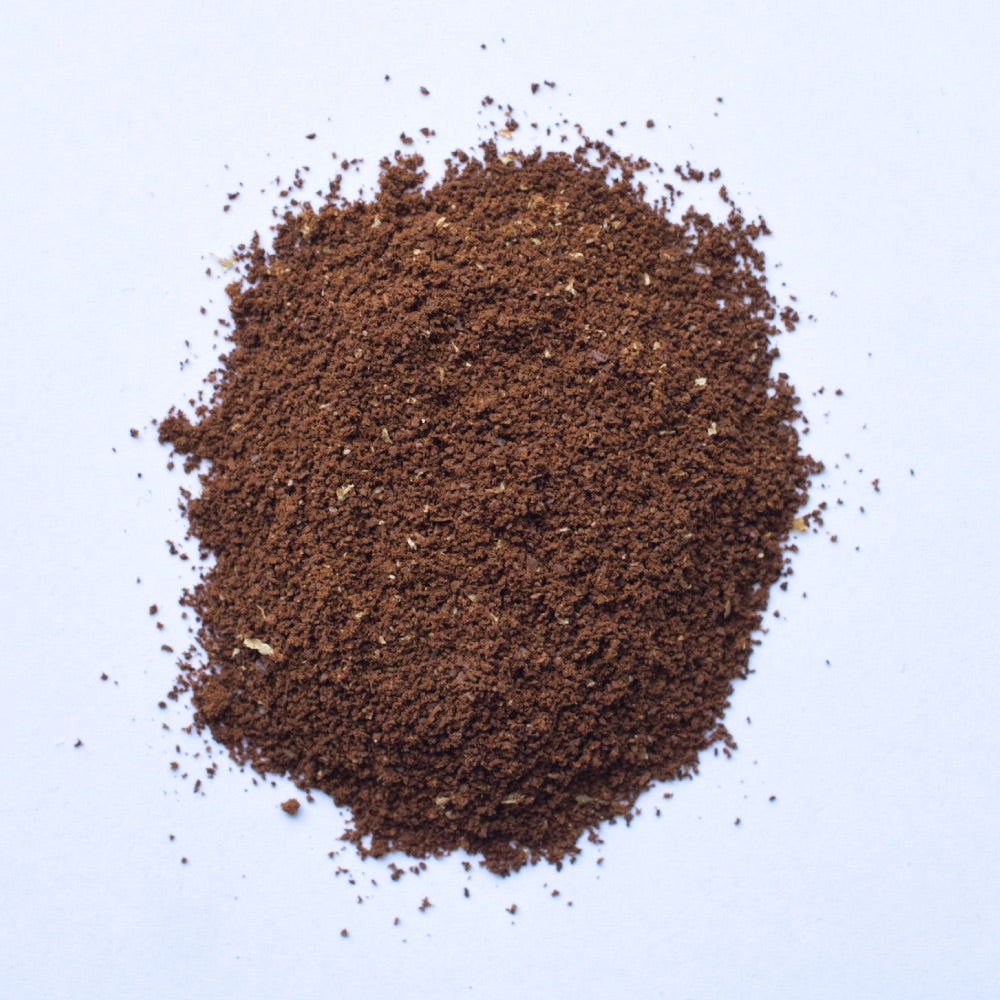
Grind coffee to a medium coarseness. For this example, we use 32 grams of coffee with 500ml of water at a starting temperature between 96°C.
STEP 3:
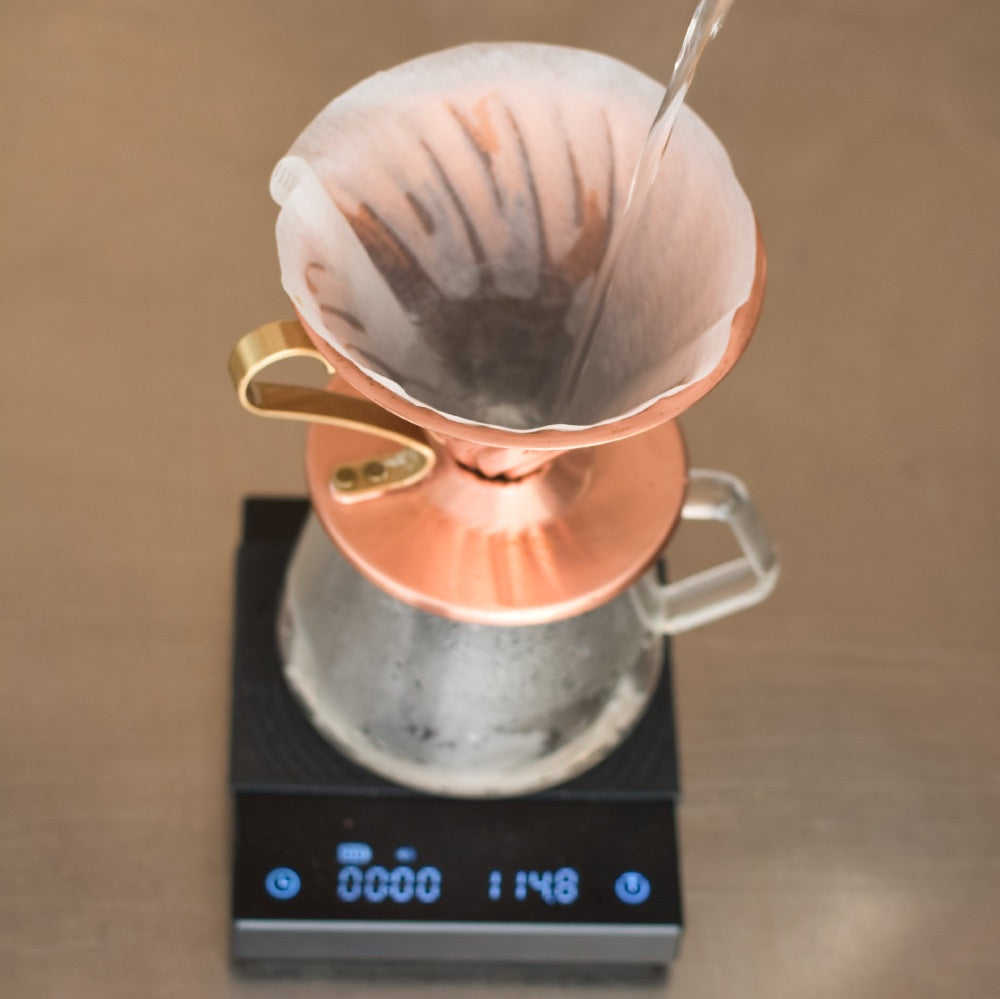
Place a filter in the Hario V60 dripper. Pre-wet your filter paper and pitcher with hot water. This removes the papery taste from the filter and preheats the pitcher. Once done, decant the water. Place on a scale.
STEP 4
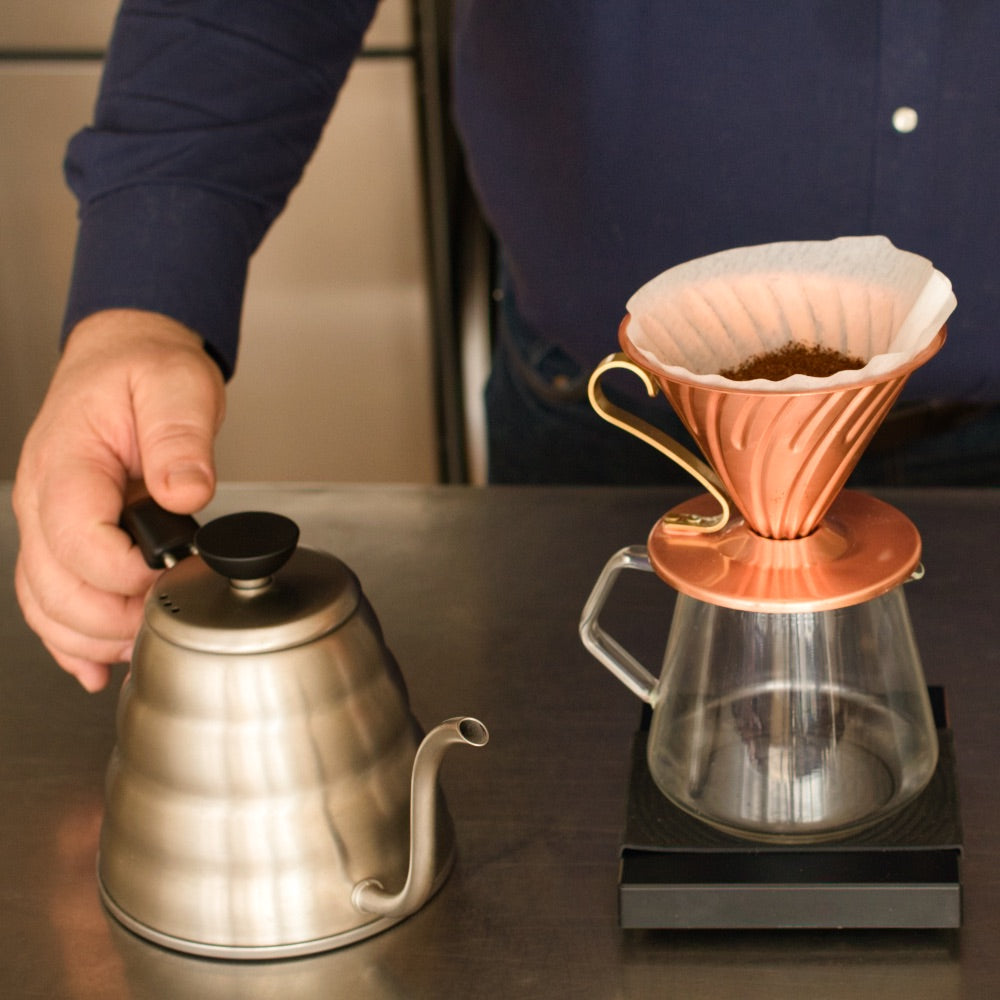
Place the dripper and pitcher on a scale and set it to zero. Add 16g of ground coffee to the filter and gently tap to even out the coffee to prepare the coffee bed for even extraction. Zero the scale again after the coffee ground weight has been verified. Set the timer to zero.
STEP 5
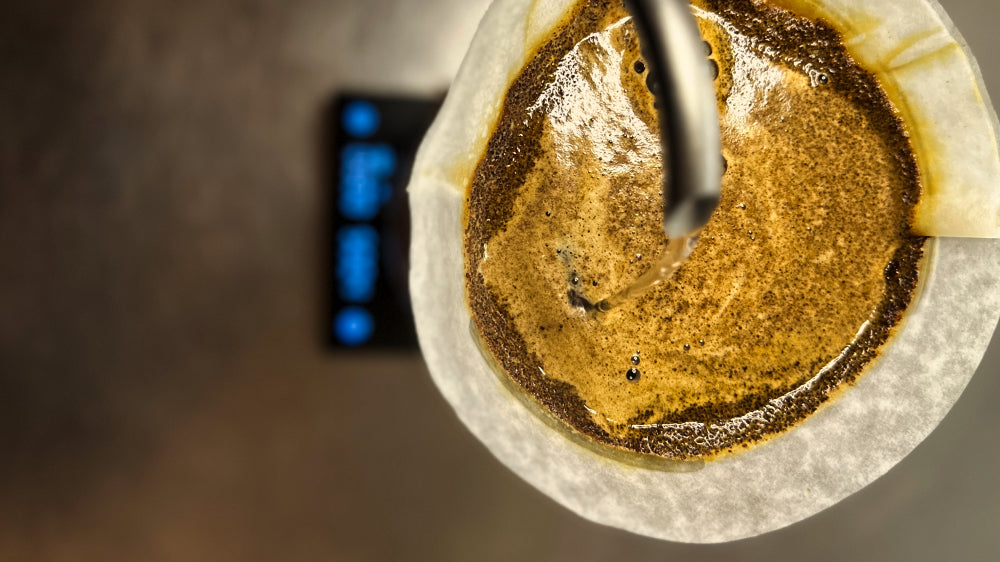
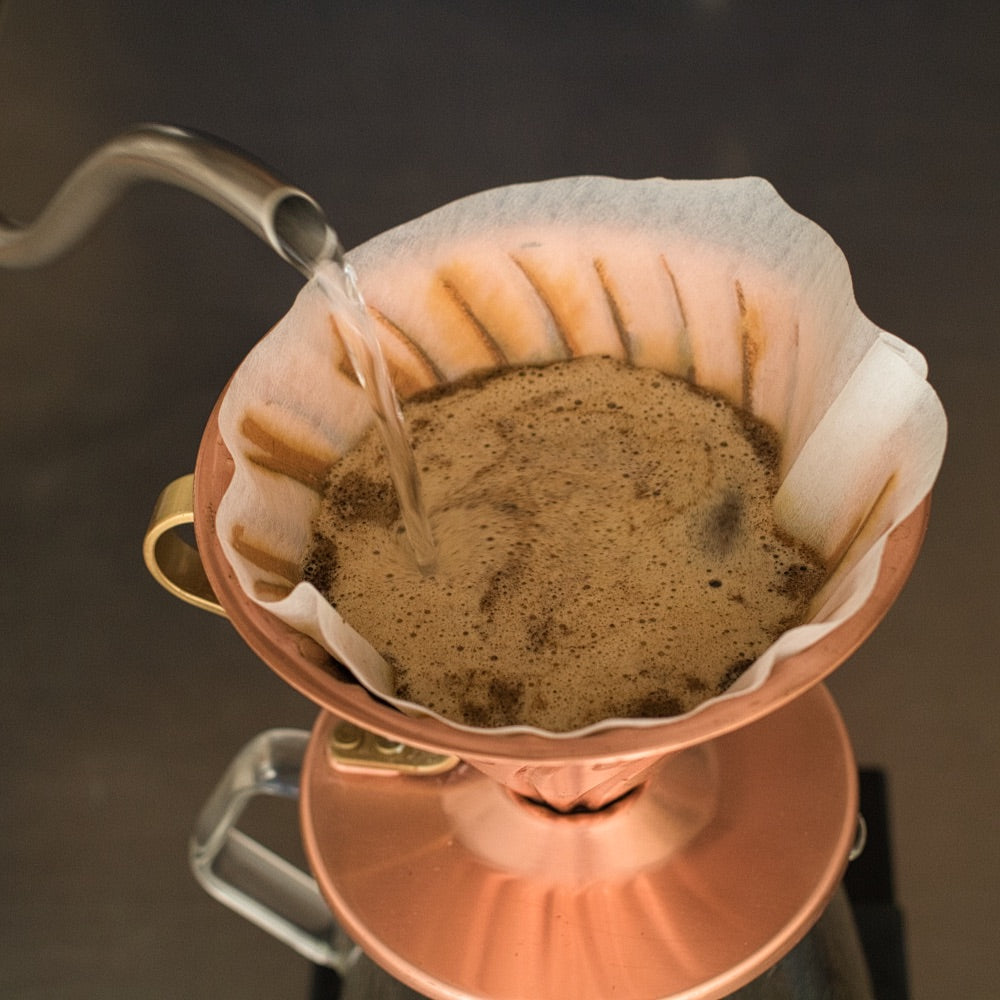
Bloom Pour 100ml
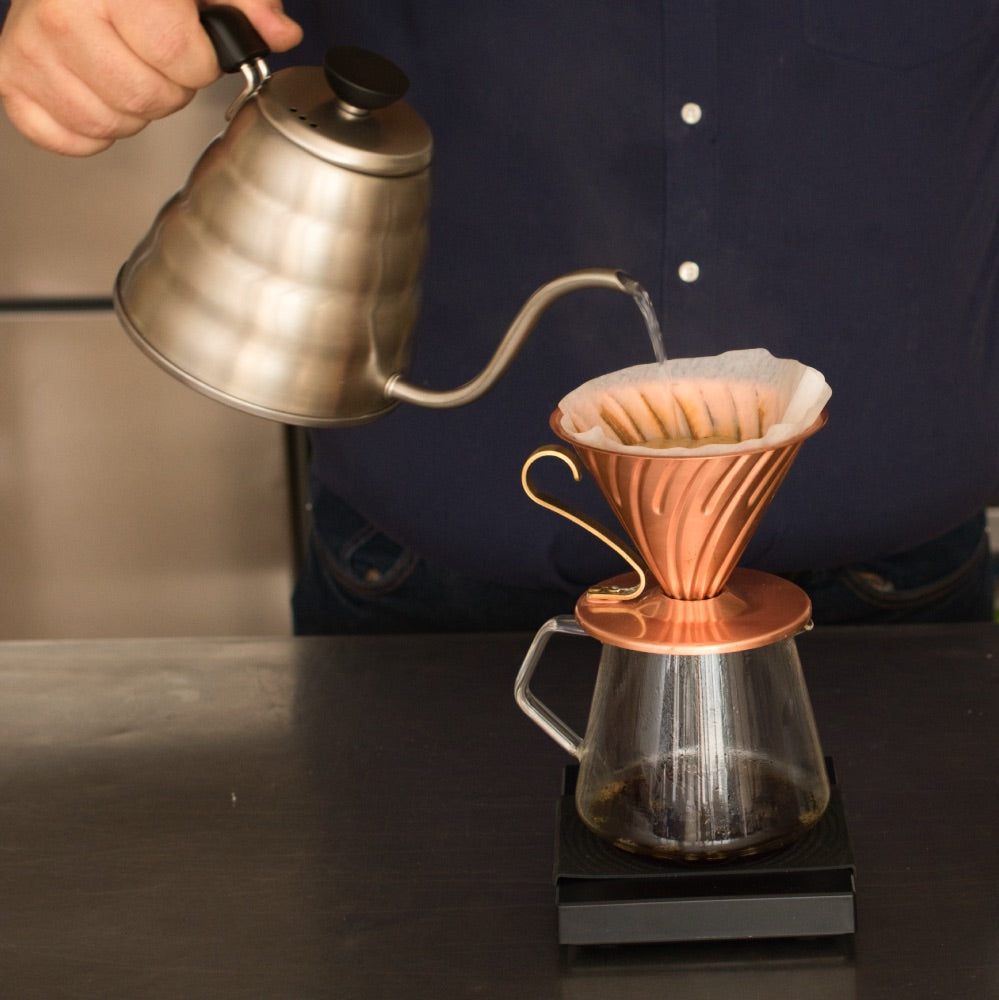
Begin each pour in the centre, moving outwards in concentric circles and back in again, repeating the process. Be careful when coming to the outer edge for bypass. This is when coffee flows behind the coffee through the filter paper down the glass side without passing through the coffee. Give a quick stir to ensure all grinds are completely saturated. Allow to bloom for 30 seconds.
STEP 6
Second and third pours of 200ml each
Pour in the same way, starting at the centre, moving outwards in concentric circles and back in again, repeating the process. After the second pour, allow the coffee bed to drain completely until you don’t see water on the surface of the coffee bed.
Pour one more pour in the same fashion to end with a total brew time of around 3:30 – 4:00 minutes.
STEP 7
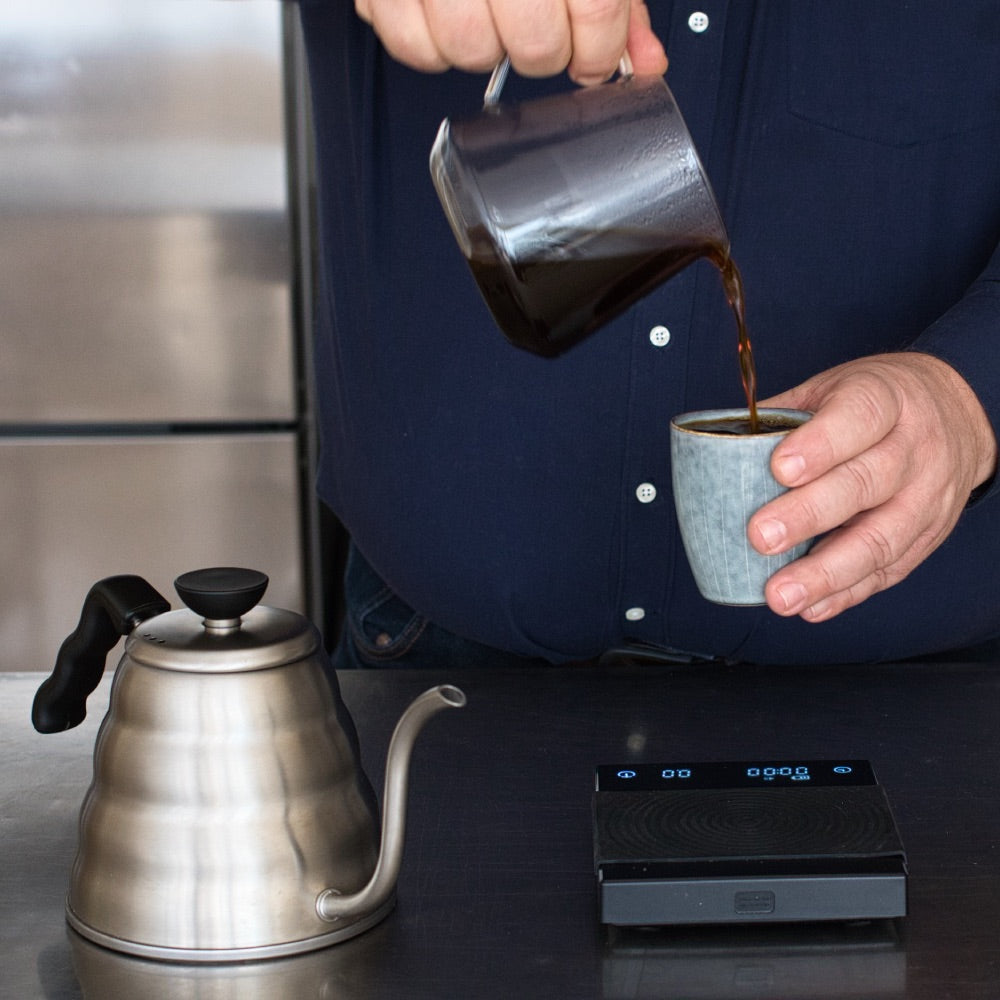
Once the coffee bed is completely dry and the coffee has stopped dripping, carefully remove the paper filter and dispose of it. Give your pitcher a gentle swirl to fuse all layers of flavour, and enjoy your freshly brewed cup of clear coffee.
Tip: If your brew tastes sour, check your water temperature, because it might be too cold. It should be in the range of 90-96 °C. Also,
Sour coffee means your coffee is under-extracted. Consider grinding finer.
Bitter coffee means your coffee is over-extracted. Consider grinding coarser.


