HARIO SYPHON NEXT BREW GUIDE
The history of the Syphon coffee maker, also known as the vacuum coffee maker, dates back to the 19th century. It is a fascinating and elegant brewing method that combines elements of vacuum and siphon principles to create a unique coffee-making experience. Here's a brief overview of its history:
The concept of vacuum brewing can be traced back to the early 19th century. In the 1830s, a French housewife named Madame Vassieux patented an early vacuum coffee maker. This design used two stacked containers, with the lower one being heated and the upper one filled with coffee grounds. Water would boil in the lower chamber, and the resulting vapour and coffee infusion would rise into the upper chamber, where it was separated from the grounds and served. In the 1840s, a Scottish inventor, Robert Napier, added innovation that allowed for a more precise control of brewing time and temperature.
Today, Syphon coffee makers are often used in speciality coffee shops and by home coffee connoisseurs who appreciate the unique brewing process and the ability to control variables like temperature and brewing time. The Syphon method produces a clean and flavourful cup of coffee, and its elegant design adds a touch of theatre to the coffee-making experience.
WHAT YOU'LL NEED
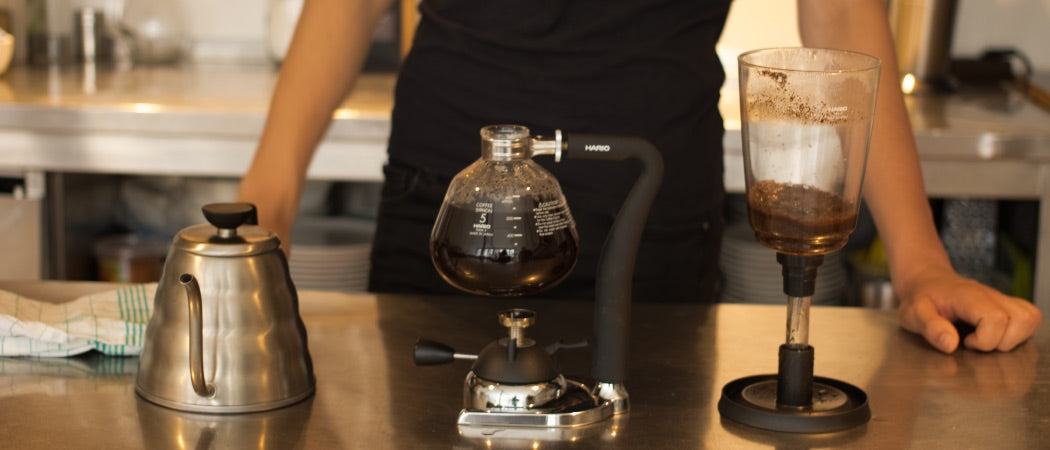
Hario Syphon
Hario cloth, paper or metal filter
Adjustable heat source (Gas/alcohol burner or Hario Beam Heater)
Hario bamboo stirrer
Coffee grinder
Fresh Coffee beans
Filtered/bottled water
Digital scale
Timer
Brew Time: 2:30 minutes from adding the coffee
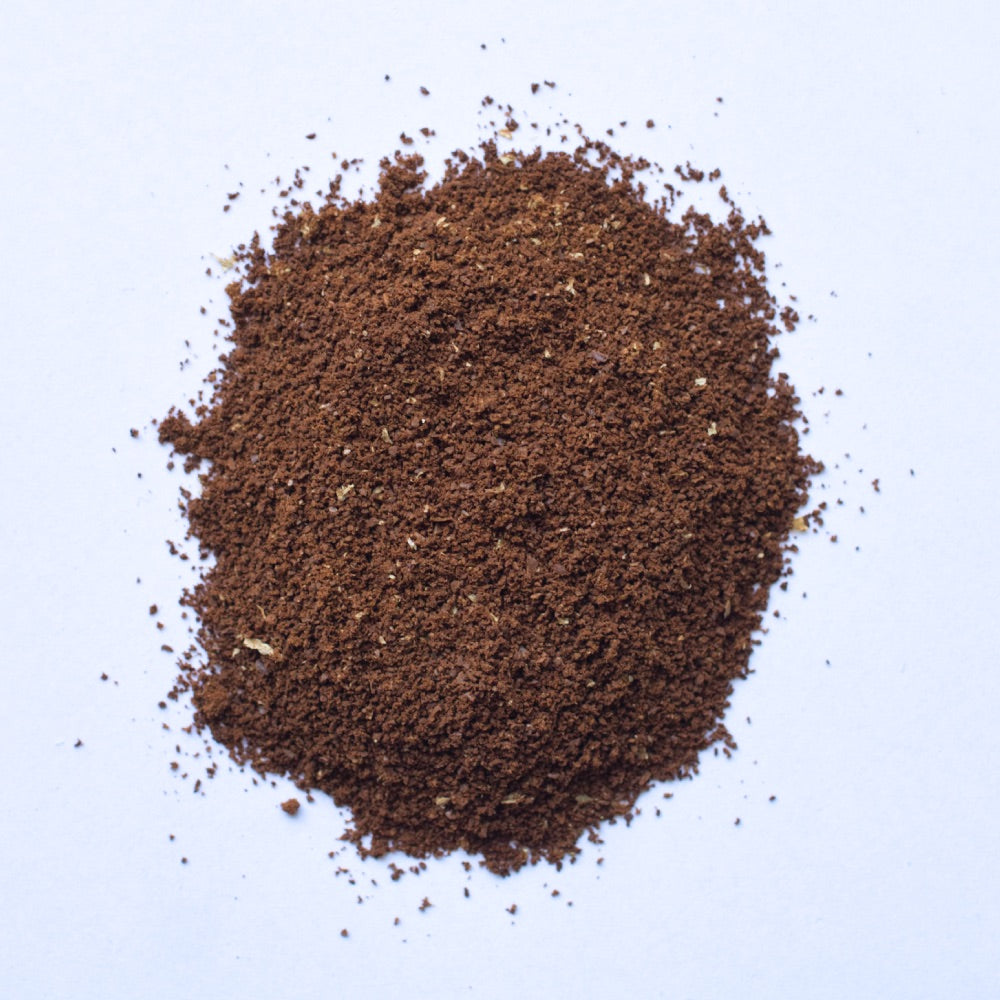
Grind size: Medium Freshly ground coffee: 45g
Water: 600ml (5 cups)
Water temperature: 96 °C
Tip: We recommend freshly ground beans for the best flavour experience.
Tip: If you like a stronger cup of coffee than suggested above, simply increase the amount of ground coffee. The opposite goes if you want less strong coffee. Make sure to record your results in order to duplicate them in the future.
Coffee is always about what tastes best for you. This includes the grams of ground coffee to water ratio as well as grind size. Be creative and build your home barista skills.
STEP 1:
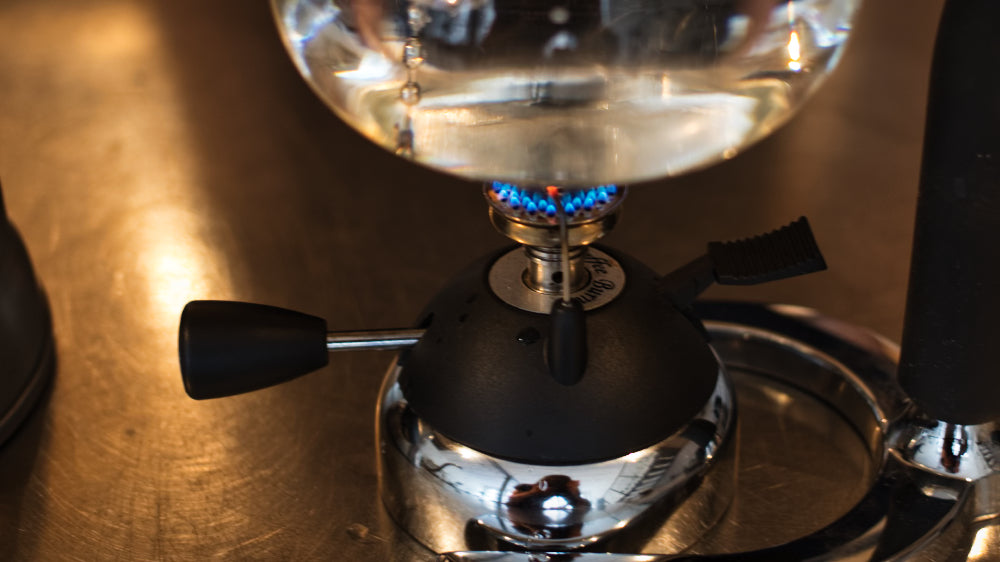
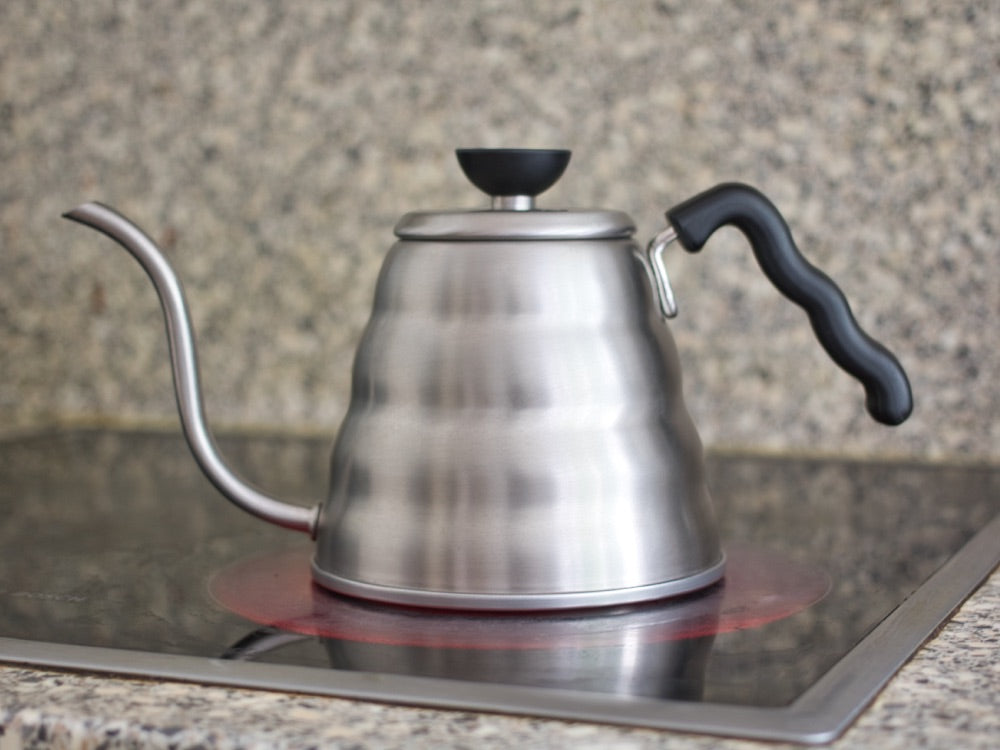
To speed up the process, we bring water to a boil in a kettle. But you can also boil the water using the gas or included spirits burner.
STEP 2:
Grind Coffee Medium and set aside.
STEP 3:
Assemble the top chamber by inserting your filter of choice. If you use a cloth filter, soak it in warm water before using it. Place the filter on top of the bottom hole with the chain hanging through the glass tube. Pull the chain and secure the hook to the glass tube. Set the top aside by placing the lid upside down and the top chamber in an angled position.
Tip: Should you prefer alternative filters, paper and metal filter options are also available.
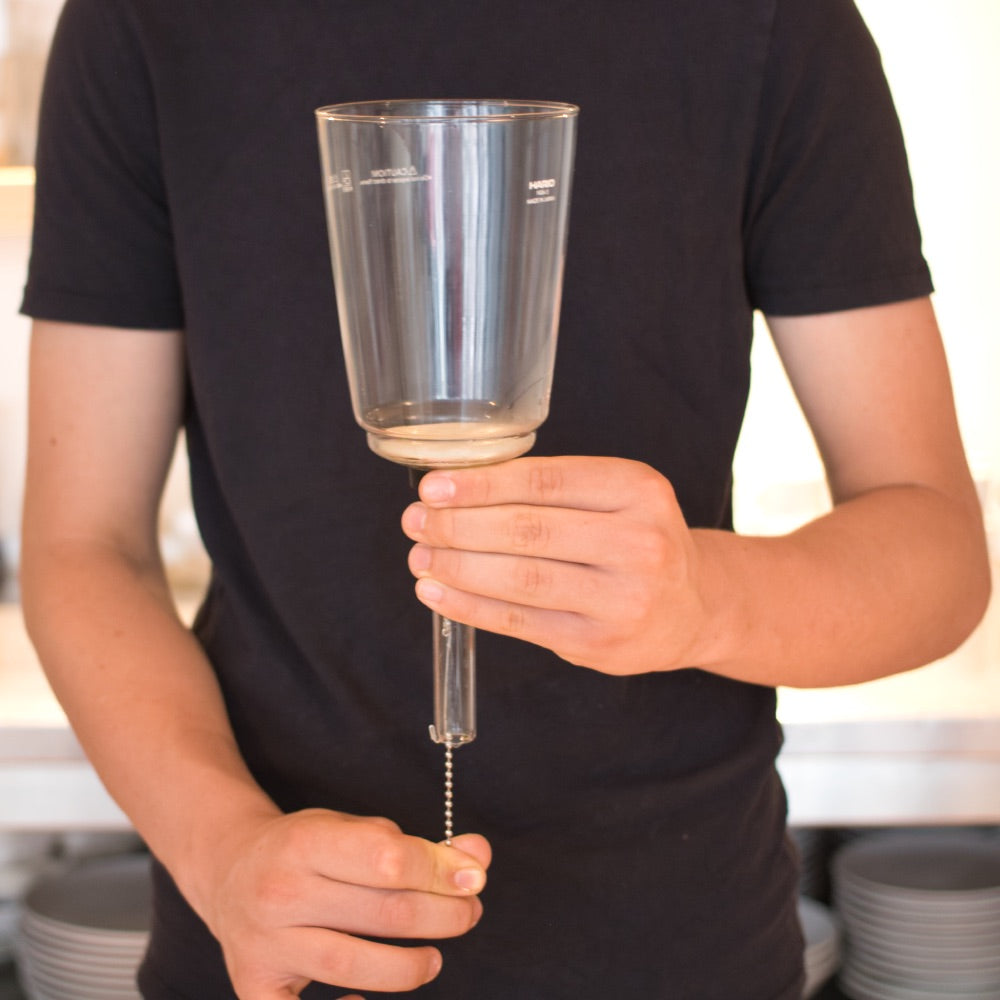
STEP 4
Ensure that the clamp around the bottom chamber is hand-tight. If not, turn the ring on the clamp to secure further. Fill the bottom chamber with preheated filter water.
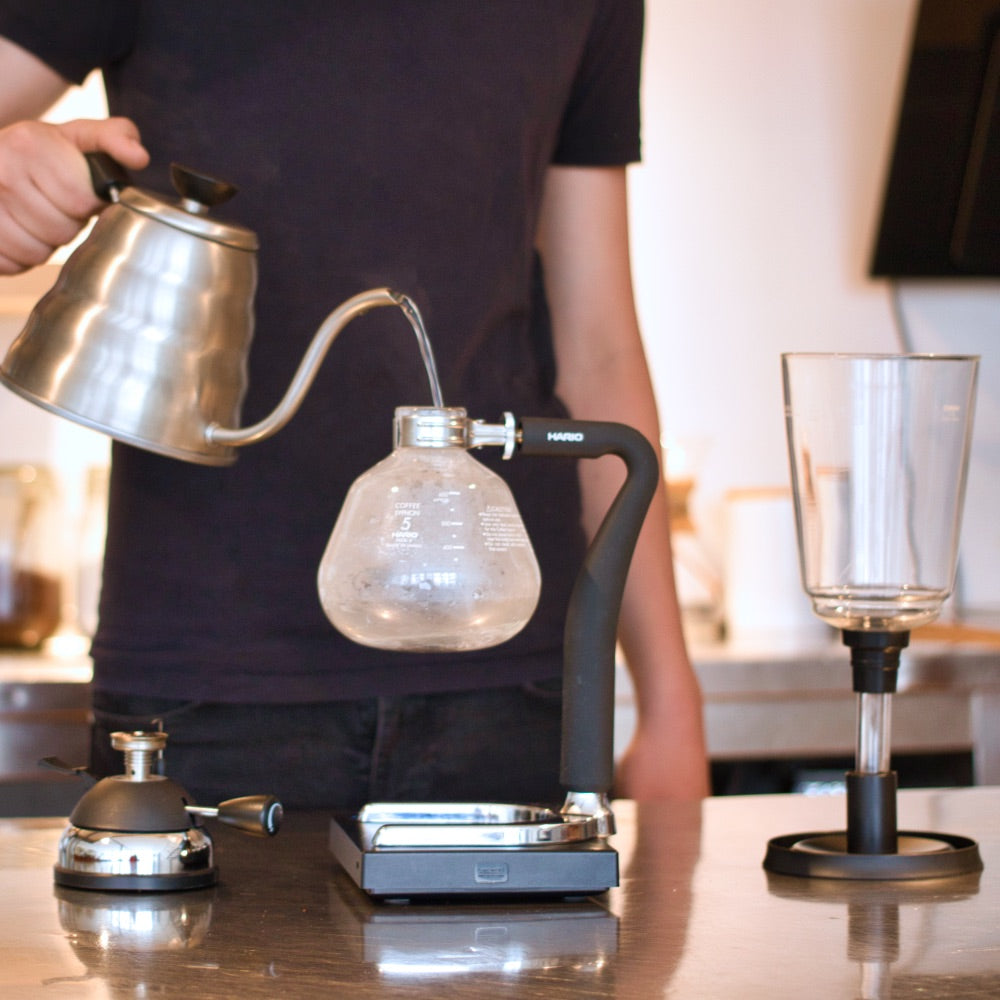
STEP 5
Place the upper chamber inside the bottom bowl at an angle while the water boils. Check that the chain is extended and lying in the water in the bottom chamber.
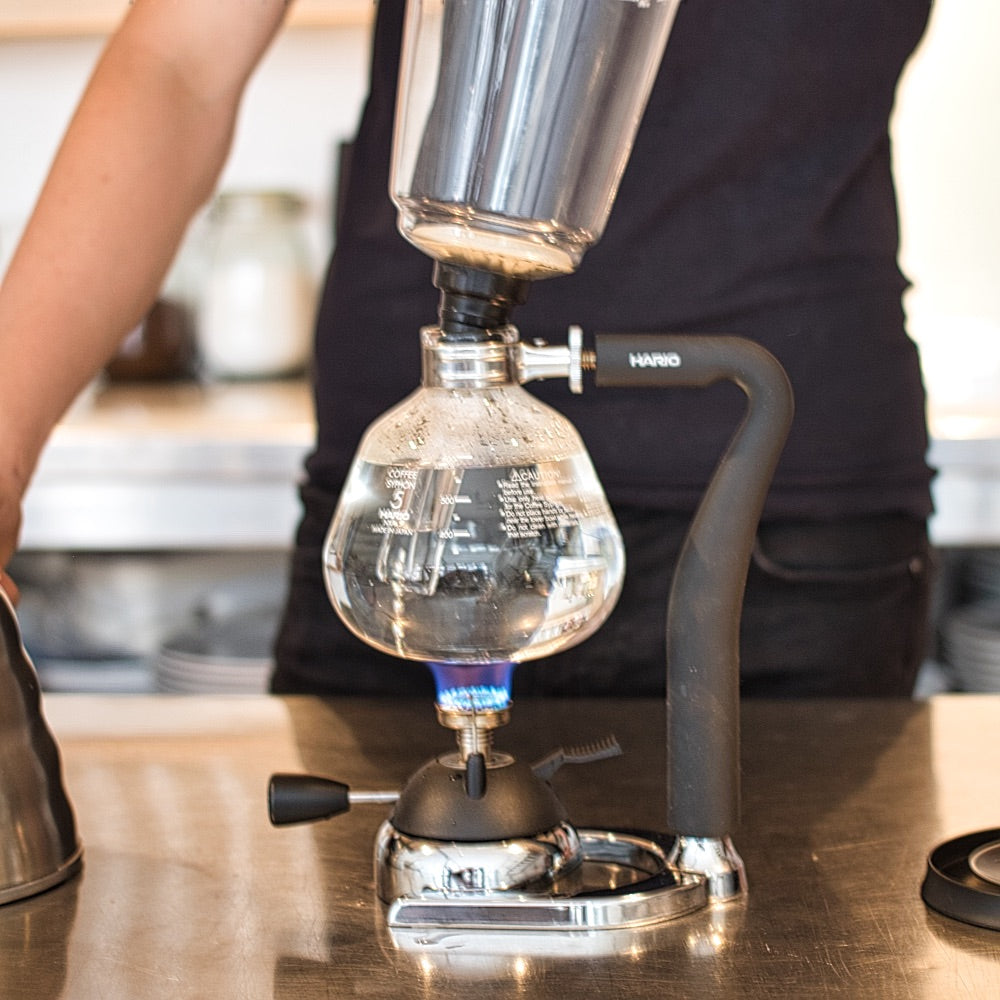
STEP 6
Turn on the heat source to start the brewing process. When the water begins to boil, secure the top chamber to the bottom chamber by pushing firmly down and ensuring that the rubber seal from the top chamber sits securely on the bottom chamber. At boiling point, the water will automatically move to the top chamber through a vacuum created by the boiling water, which will start filling with water.
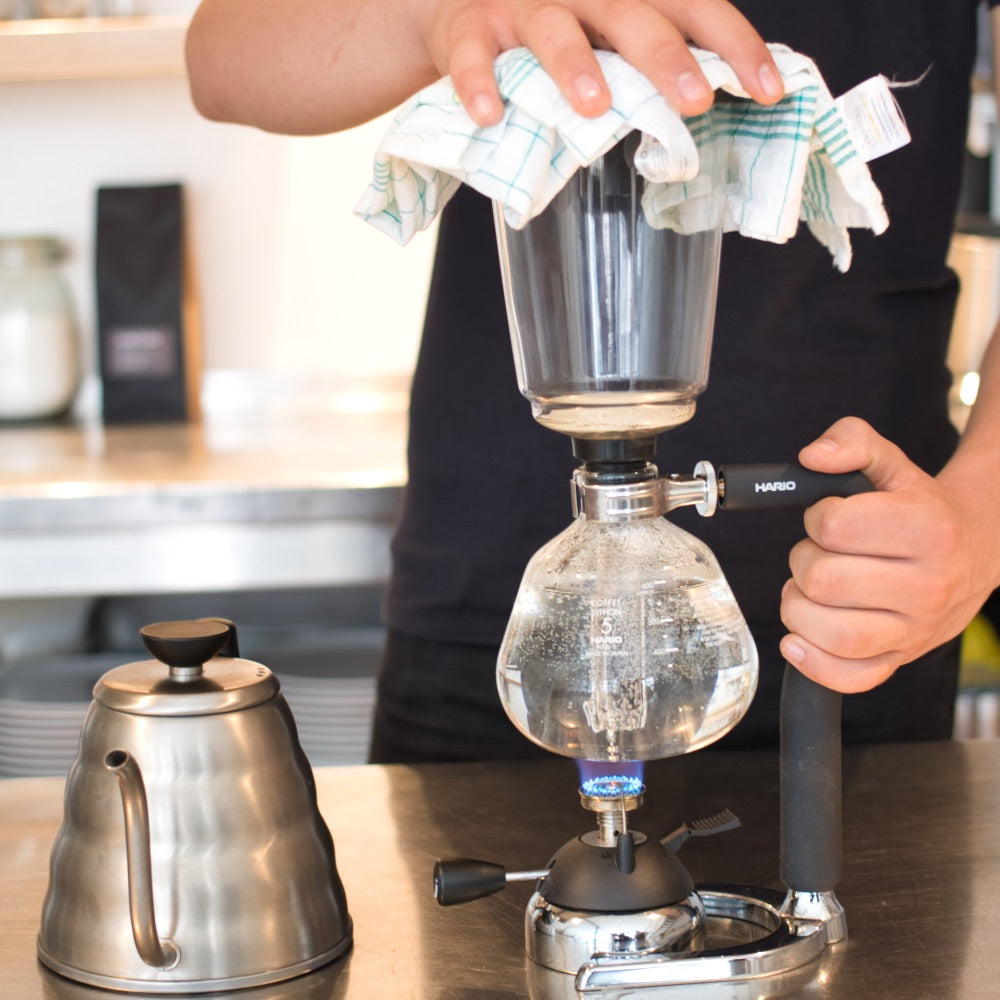
STEP 7
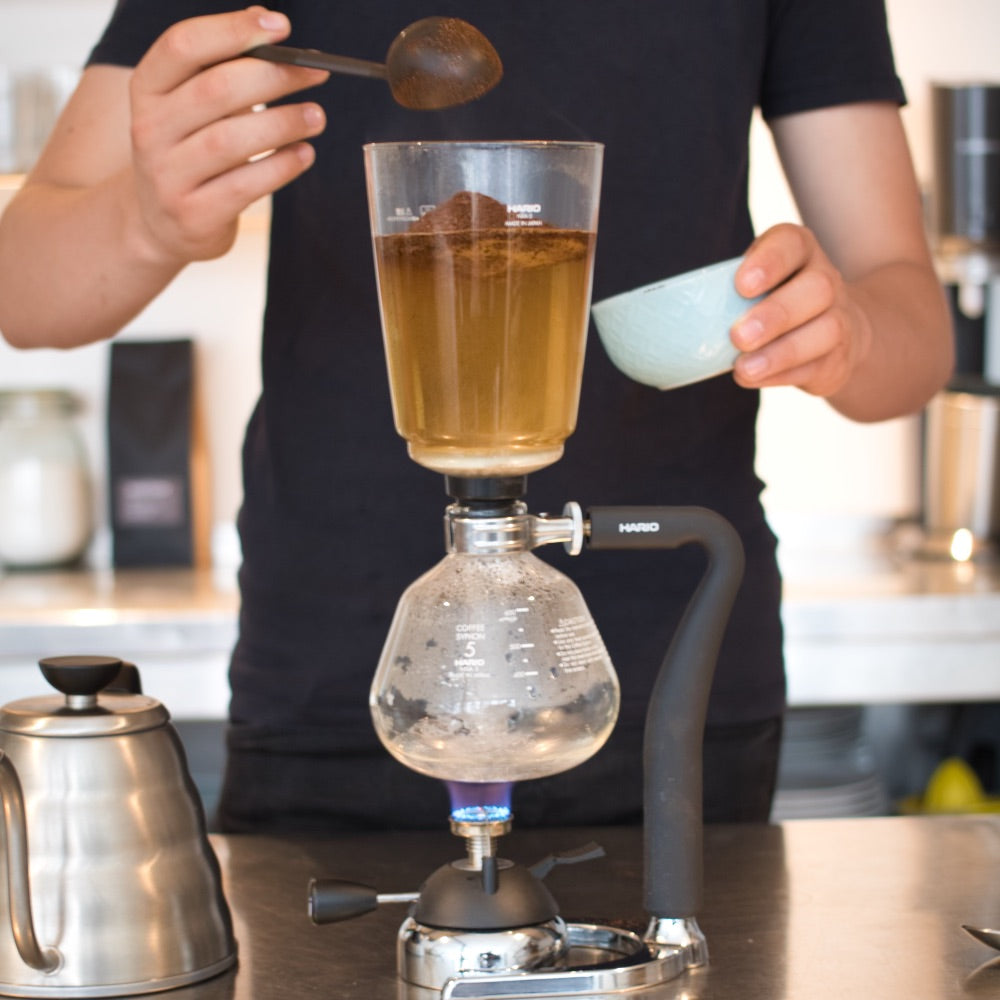
Remove the lid, allow water to cool down slightly for 5 seconds, then add freshly ground coffee. Stir the coffee and water to ensure all the coffee grinds are saturated. Reduce the heat on the burner just enough to ensure that the coffee does not start running back into the bottom chamber. We will brew the coffee in the top chamber for 1:30 minutes.
STEP 8
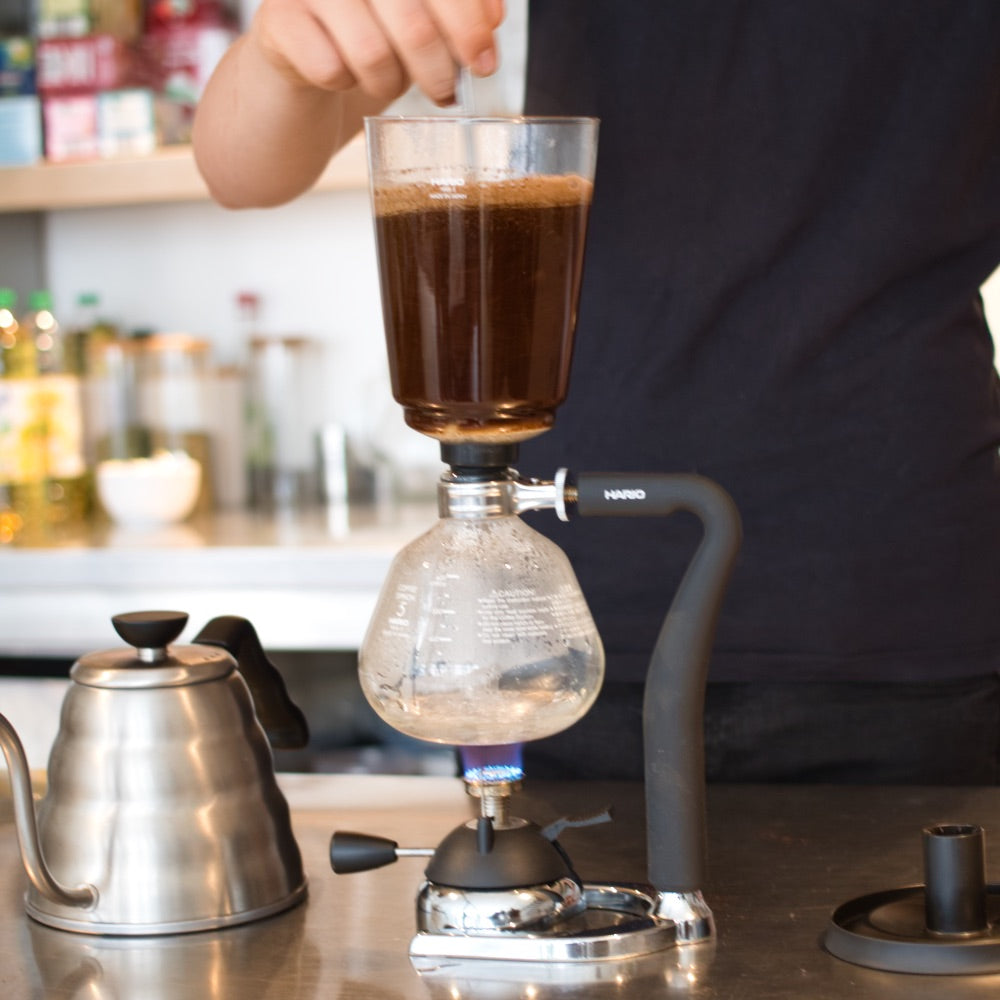
After 45 seconds, stir the coffee to release flavours and aromas, and to ensure all the coffee grinds are saturated.
STEP 9
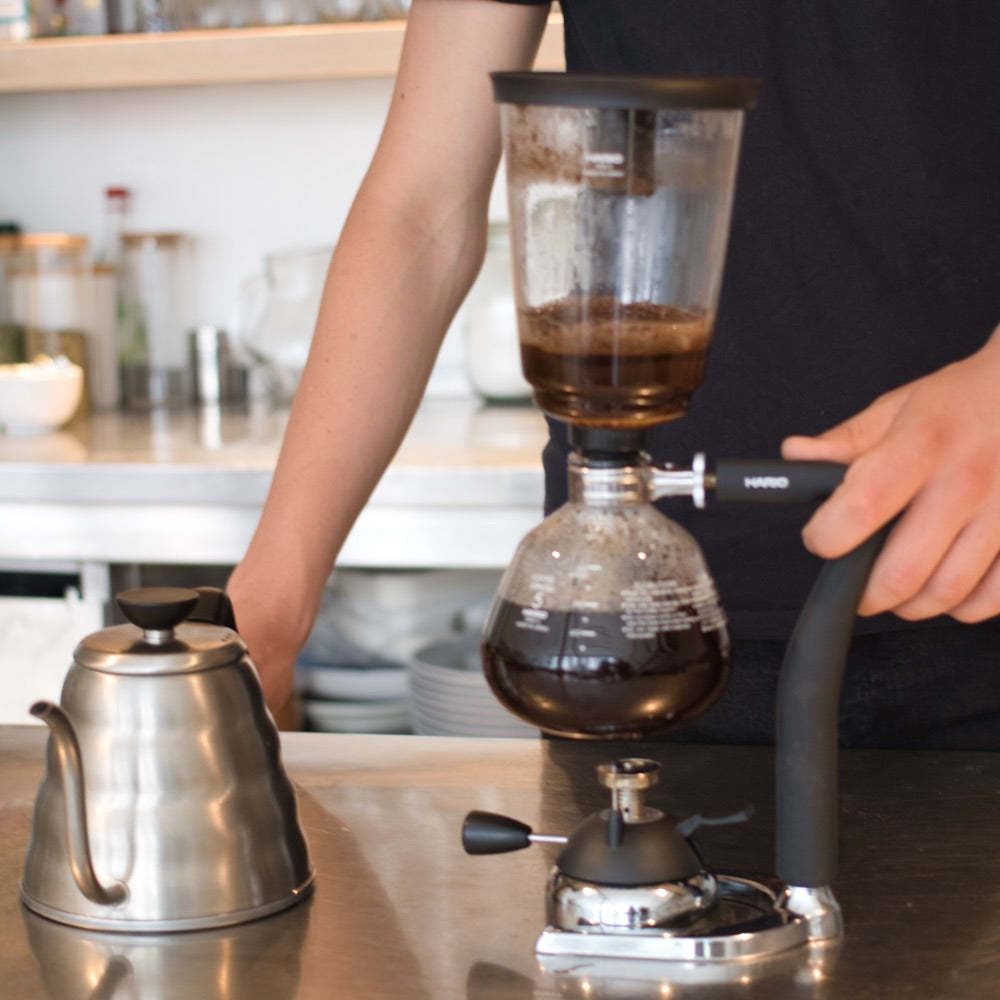
Just before 1:30 minutes, turn off your heat source. This will draw the coffee back down to the bottom chamber. The drawdown will take approximately 1:00 minute. Should it be faster, adjust your grind size for future brews. In total, the brew time should be 2:30 minutes.
STEP 10
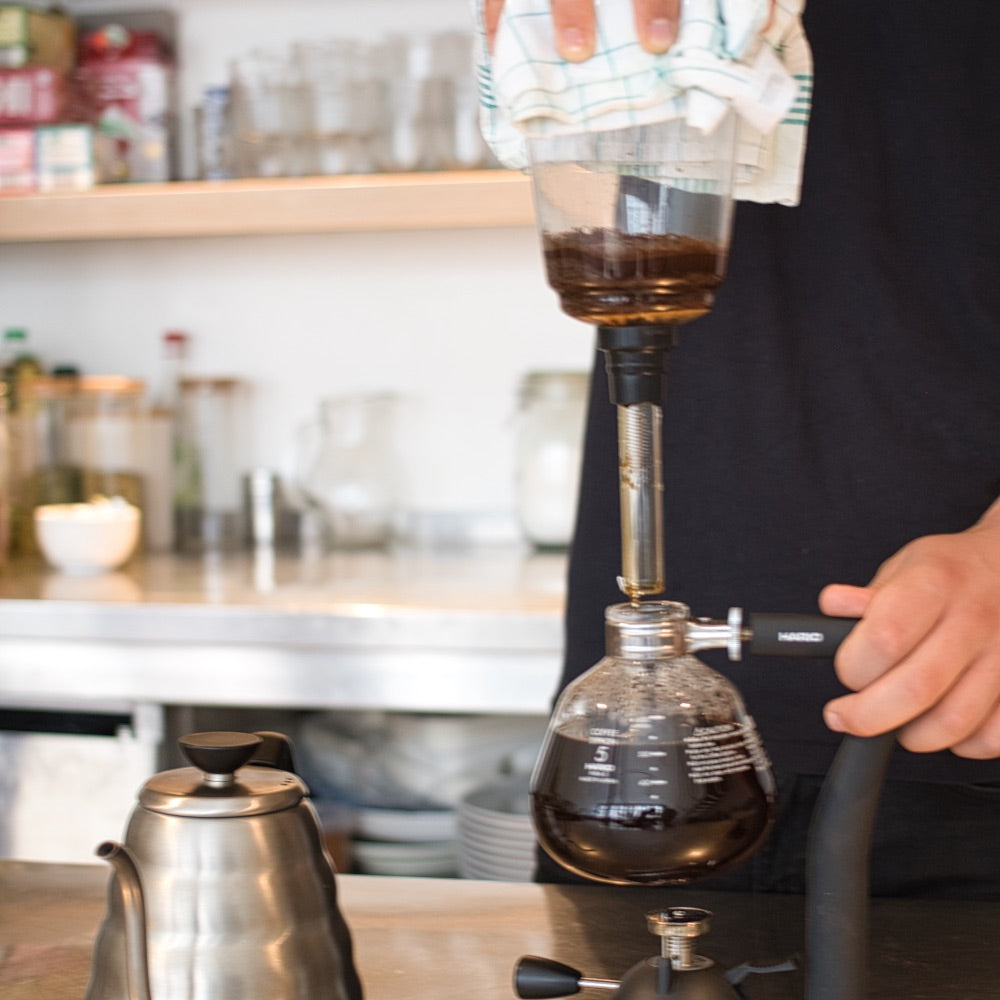
Using a cloth or heatproof glove, carefully remove the top chamber from the bottom chamber.
STEP 11
Place the lid upside down on your work surface and gently place the top chamber in the lid's stem to cool down.
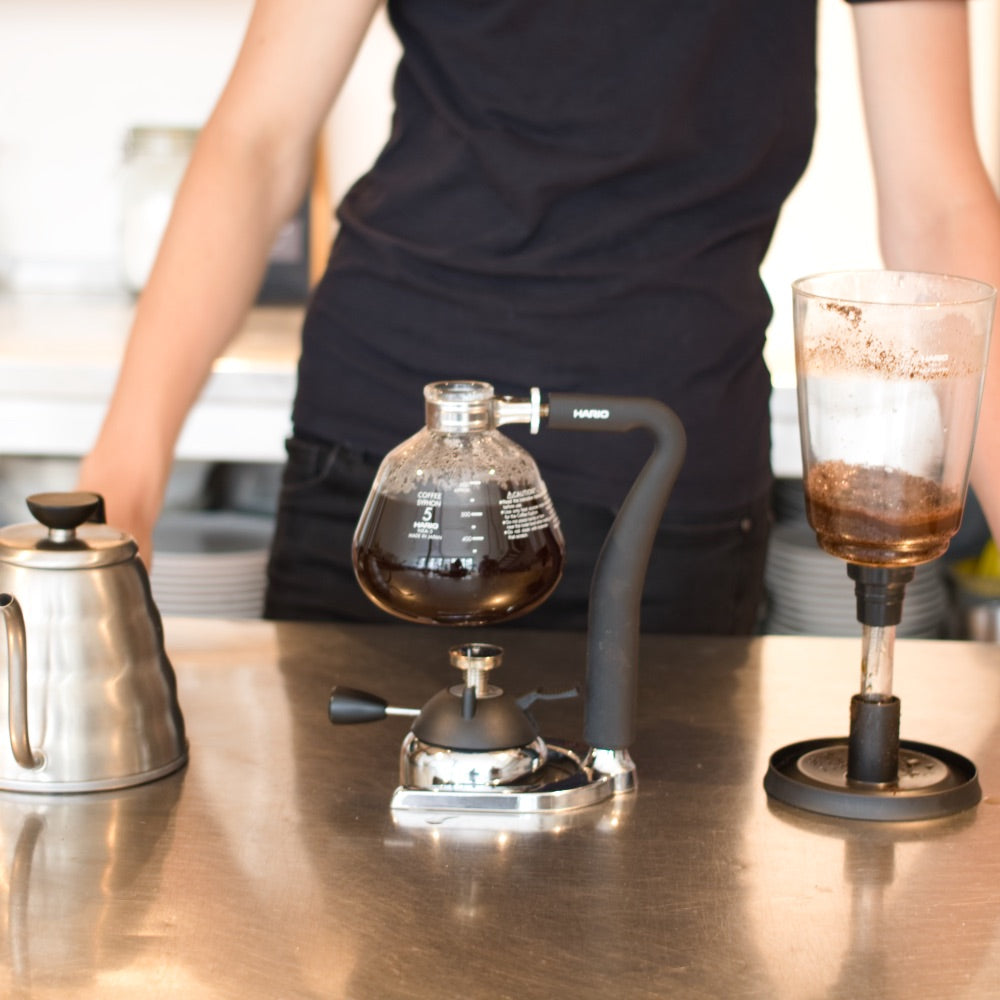
STEP 12
Now, it is time to enjoy the fruits of your work. Share it with your friends who participated in your coffee experiment.
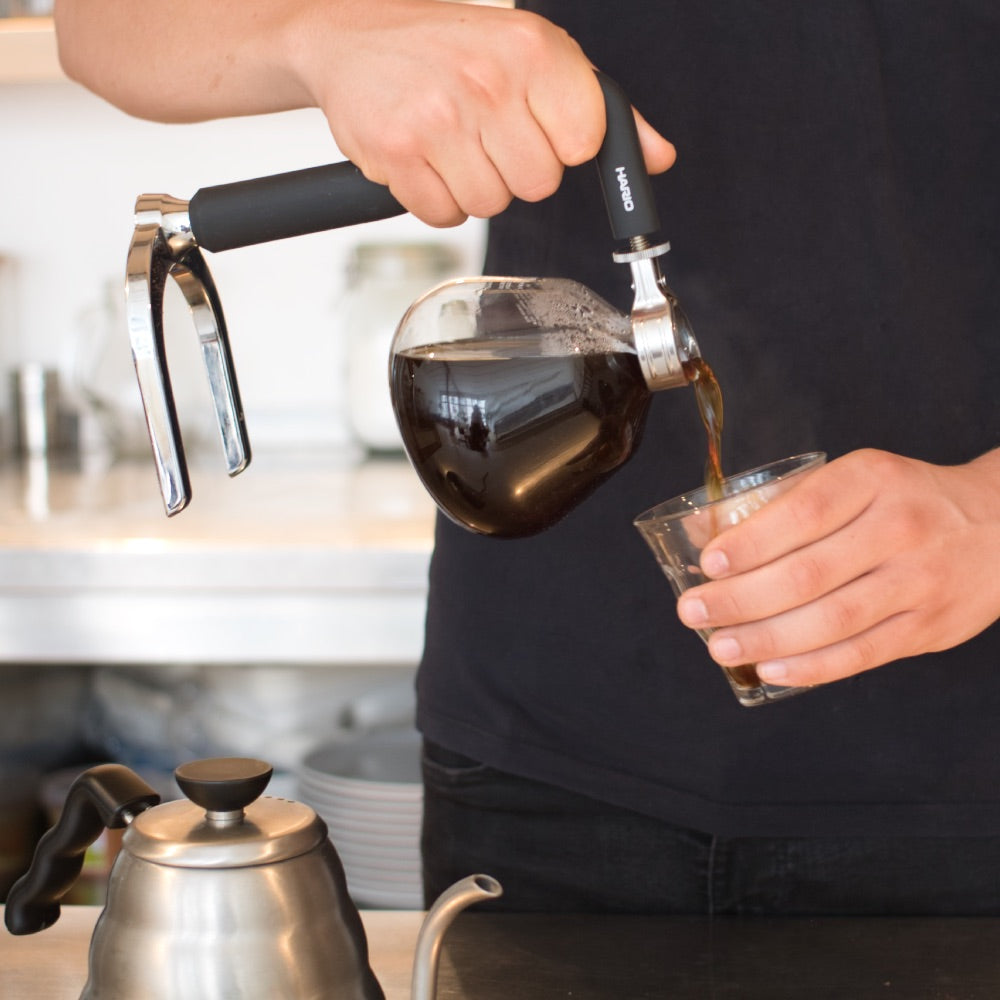
Sour coffee means your coffee is under-extracted. Consider grinding finer.
Bitter coffee means your coffee is over-extracted. Consider grinding coarser.


