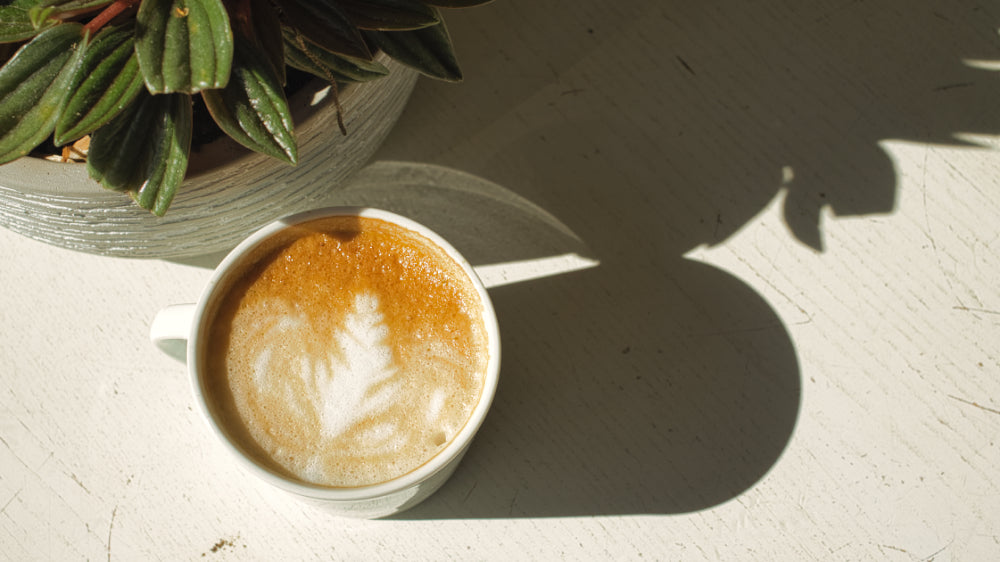
Milk frothing & latte art
In the United States, latte art was developed in Seattle in the 1980s and 1990s and was particularly popularized by David Schomer. Schomer credited the development of microfoam ("velvet foam" or "milk texturing") to Jack Kelly of Uptown Espresso in 1986, and by 1989, the heart pattern was established and a signature at Schomer's Espresso Vivace. The rosette pattern
was then developed by Schomer in 1992, recreating the technique based on a photograph he saw at Cafe Mateki in Italy. Schomer subsequently popularized latte art in his course "Caffe Latte Art".
Simultaneously, in Italy, Caffe Musetti's Luigi Lupi significantly impacted the popularization of latte art through instructional videos. Lupi and Schomer collaborated on latte art to improve their technique after meeting online in the late 1990s. Lupi and his refined latte art rose to international recognition during the 2002 Barista World Championship, where he placed 4th.
WHAT YOU WILL NEED
Fresh, organic whole milk
Espresso machine and steam wand
Stainless steel pitcher 650ml(Popular size)
Thermometer
Clean towel
Cup with a fresh shot of Espresso
STEP 1:
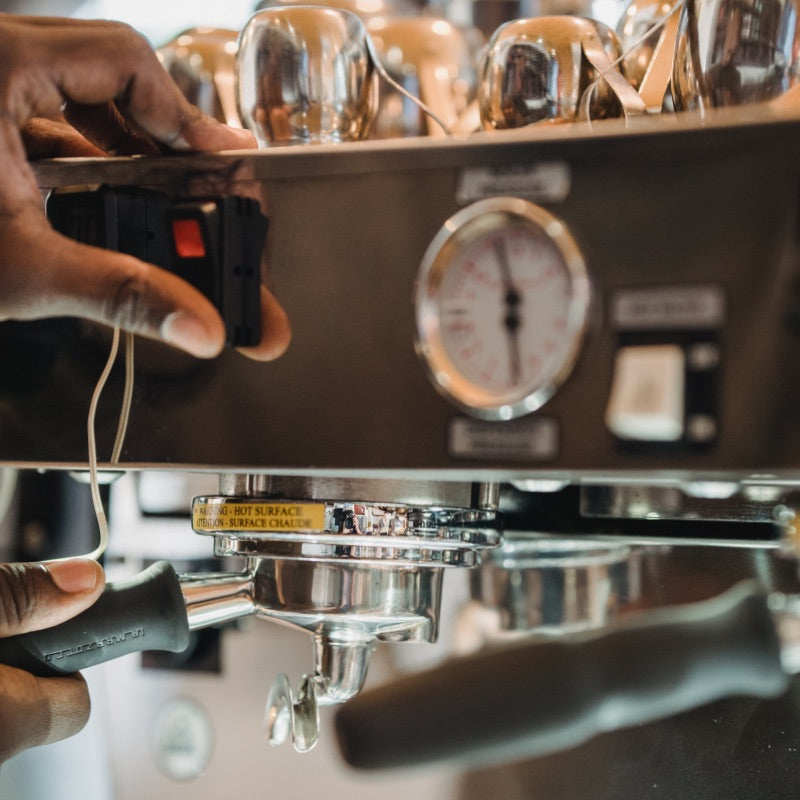
Switch on your Espresso machine and allow it to preheat the water to create steam.
STEP 2:
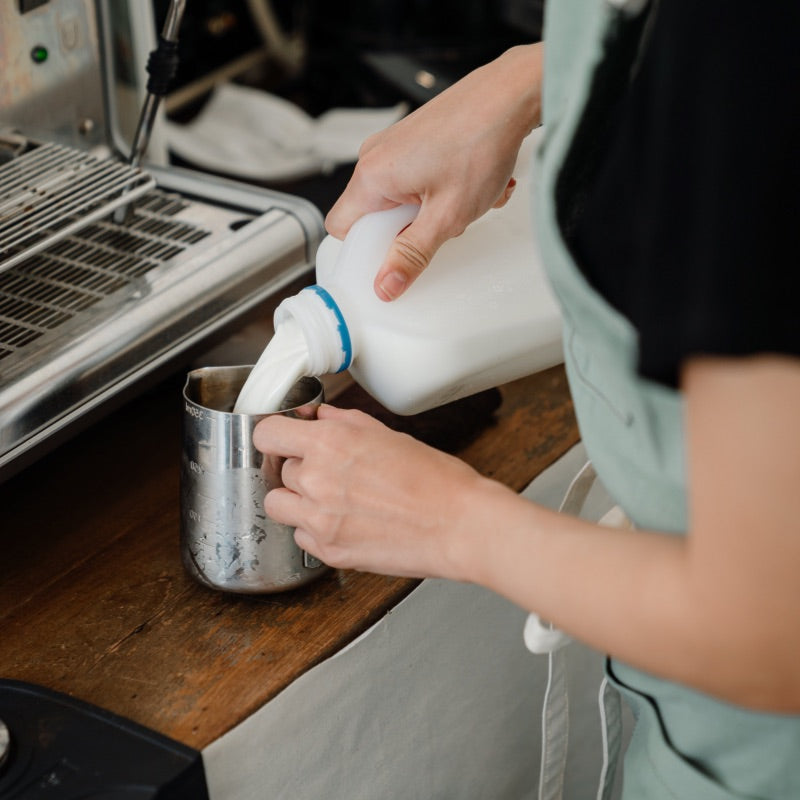
Pour cold, fresh, organic whole milk into your stainless steel pitcher. We usually make more than one cup and therefore fill it to the maximum, about 1cm below where the spout begins on the inside. More than that will cause the milk to overflow in the end.
STEP 3:
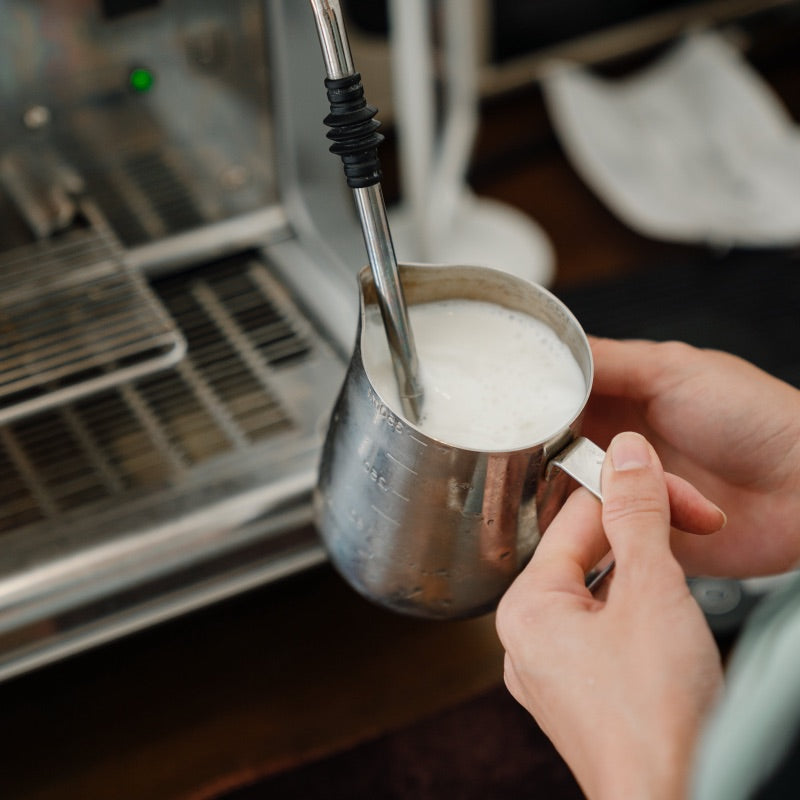
Angle the pitcher and insert the tip of the Espresso wand diagonally into the milk pitcher. When using a single-hole steam wand, we place the wand 1cm below the milk in the upper left side of the pitcher. This allows the milk to swirl around like a whirlpool in the pitcher while getting air-rated. Now turn on the steam wand. It will create a hissing sound. The steam wand must be deep enough to make a swirling sound but not produce major bubbles on the surface.
STEP 4:
Continue to steam the milk till you have reached the desired texture and heat of 60-63°C according to your thermostat, then turn off the steam wand. Then give the steam
wand a purge and wipe the outside of the wand with a clean towel. The purge is important, as it ensures that no milk is left in the wand, or worse case, in the boiler.
Tipp: You can slightly touch the jug to determine the desired heat. This comes with practice, though.

STEP 5:
Tap your pitcher on a flat surface to eliminate any bigger bubbles that might have formed on the surface. Now swirl the milk in the pitcher until the surface gets a shiny, smooth surface. Then your milk is ready to pour.
STEP 6:
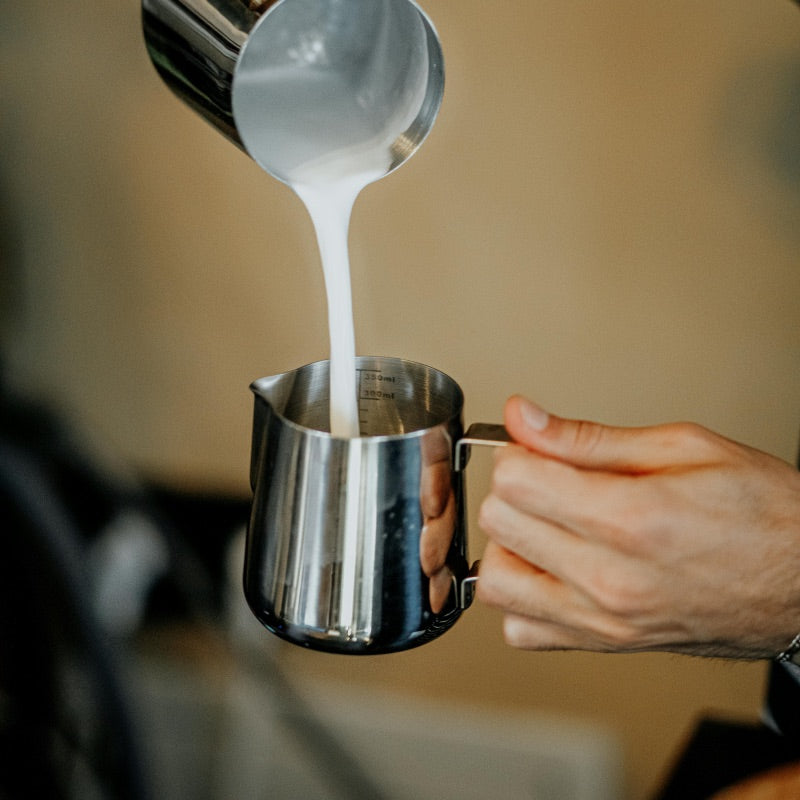
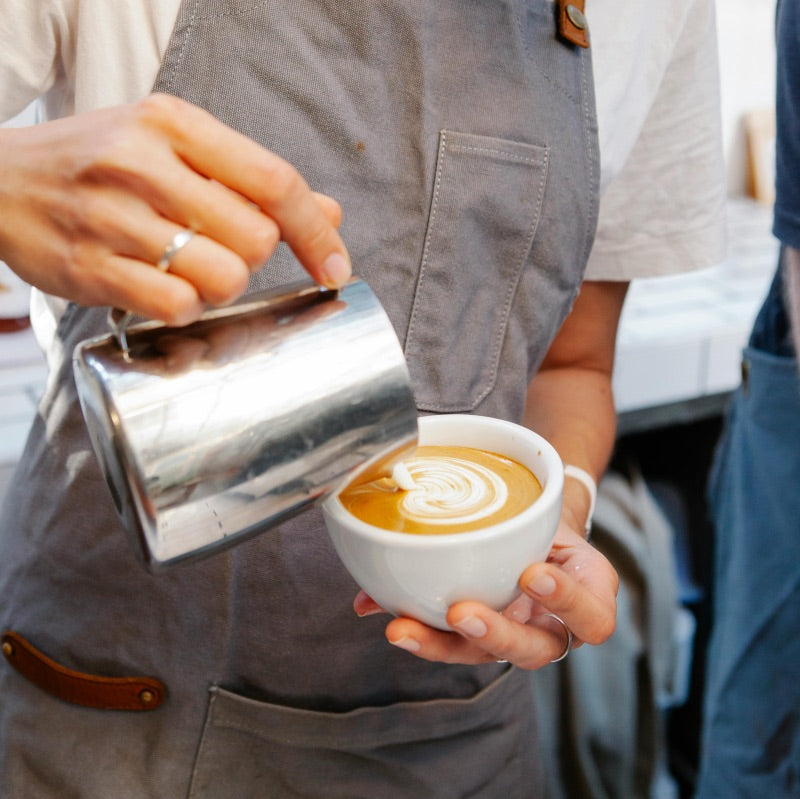
Take your cup in your left hand or reverse if left-handed. Angle it down towards the milk pitcher and start pouring from a height of 5cm, a thin line of milk disturbing the crema surface as little as possible. When the cup is halfway full, bring the spout just above the espresso crema surface and create the art of your choice.
STEP 7:
Enjoy your beautiful creation.
