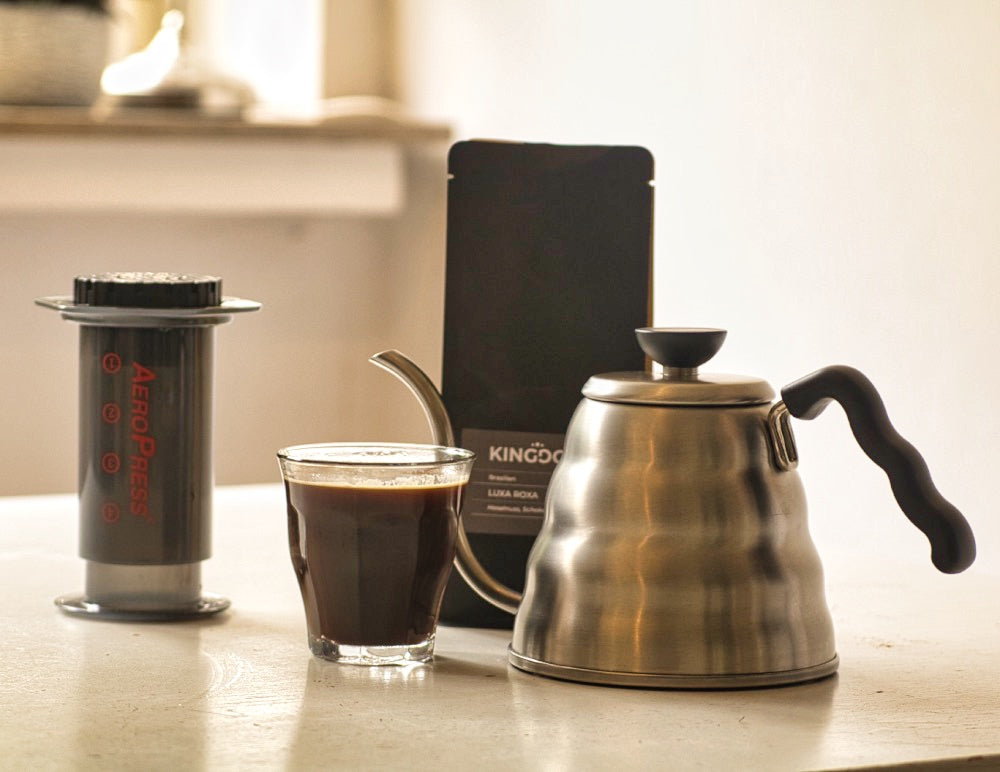
Aeropress Brew guide
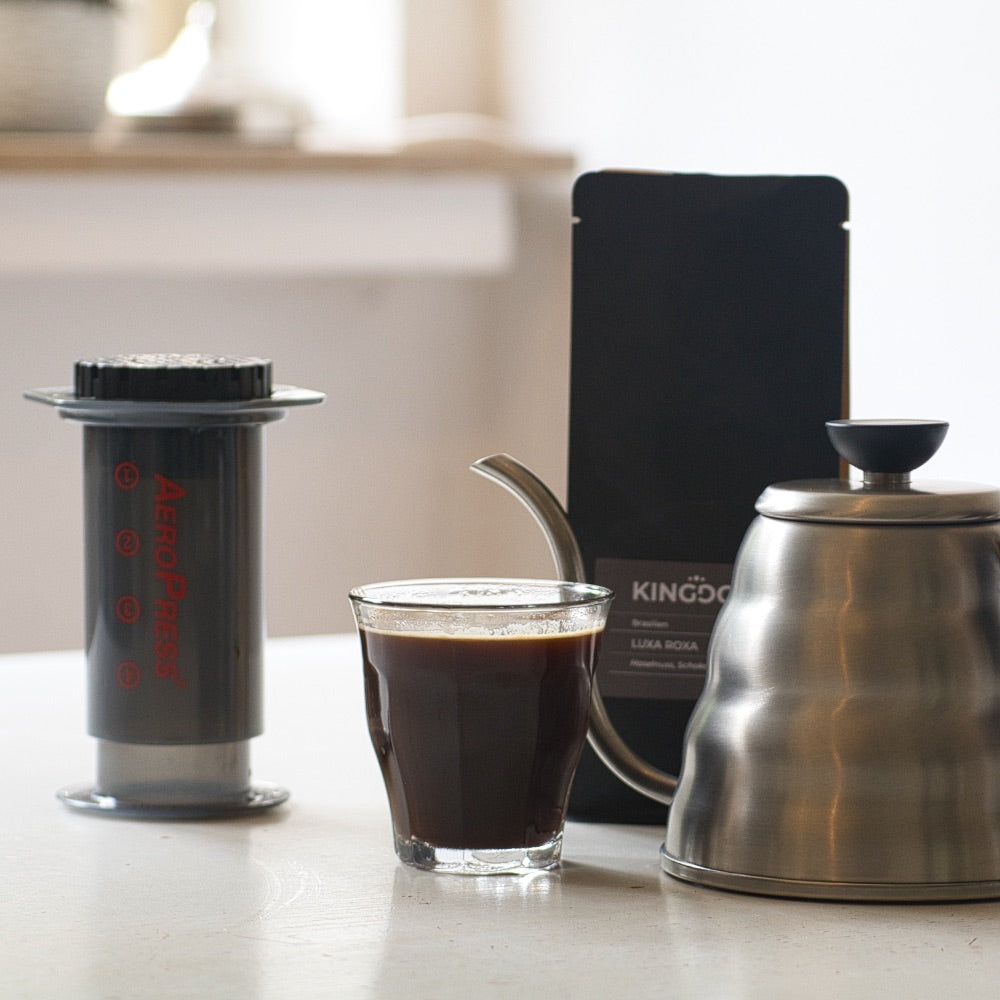
Aerobie Inc. was founded in 1984 by Alan Adler, whoat the time designed and manufactured high performance sports toys, notably the Aerobie Pro flying ring, which was used to set a Guinness World Record for the farthest thrown object. In 2004, Alan became interested in coffee brewing with one goal: a device that would brew a superior cup of coffee. In 2005, the Aeropress was born. It is now sold in 60 countries worldwide, boasting an Aeropress World Championships with brewers from 50 countries competing.
We like the Aeropress brewer because it is light, durable and compact. The Aeropress presents numerous experimental brewing
possibilities. It has a great community of people constantly striving towards a better cup. World champions are releasing their brew recipes for the rest of us to experiment with. What is not to love? One can use it almost everywhere. Its small footprint makes it a great travel companion. There is so much you can do with an Aeropress, be creative!
Have a look at some of the brew recipes done by the World Champions from 2015 – 2022 on the official Aeropress website:
https://aeropress.com/pages/wac-recipes
You will see a great variety of ways to brew with an Aeropress. But all said and done, you brew coffee the way you like it. If you want stronger coffee, increase the dose; if lighter, reduce it.
WHAT YOU'LL NEED
Aeropress and paper filter or metal filter
Cup or pitcher
Kettle
Grinder
Digital scale
Timer
Dose: 14g
Grind: Medium fine (between drip and espresso)
Filtered Water: 200ml
Water temperature: 80 -85 °C
Total brew time: 2:00
Tip: We recommend freshly ground beans for the best flavour experience.
STEP 1:
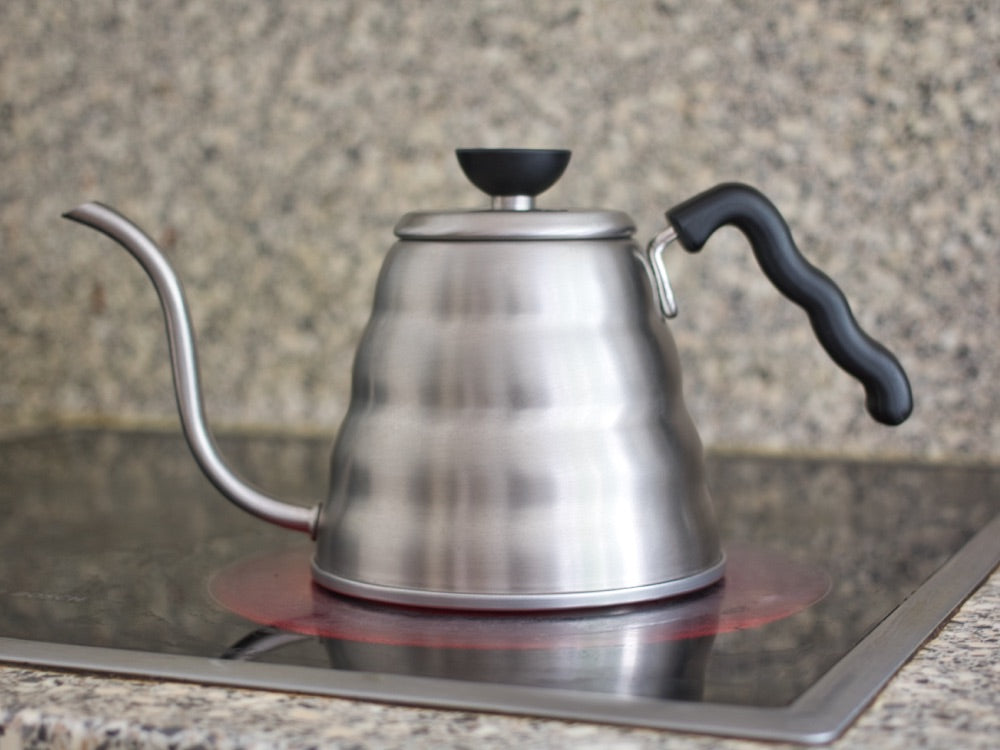
Aeropress recommends 80°C for medium-dark roasts and 85°C for light roasts. Notably, some Aeropress champions have found success following Alan Adler's (the inventor) suggestion of 75°C. Therefore, feel free to experiment and find the temperature that best suits your preference.
STEP 2:
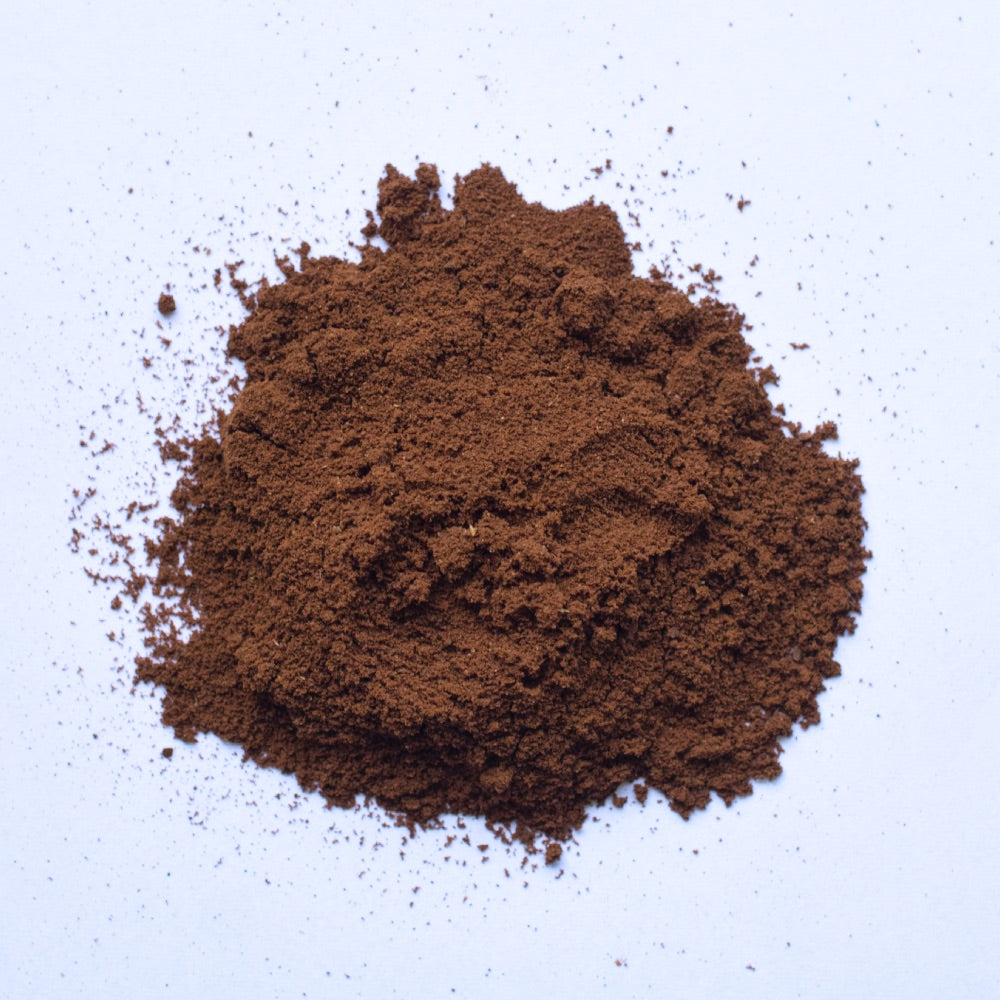
Weigh out 14 grams of coffee. Preferably grind it, using a bur grinder to a medium fine size (between drip and espresso grind).
A blade grinder is not ideal, but will also do. Grind for approximately 30 seconds, shaking the grinder to ensure all the coffee is ground as evenly as possible.
STEP 3:
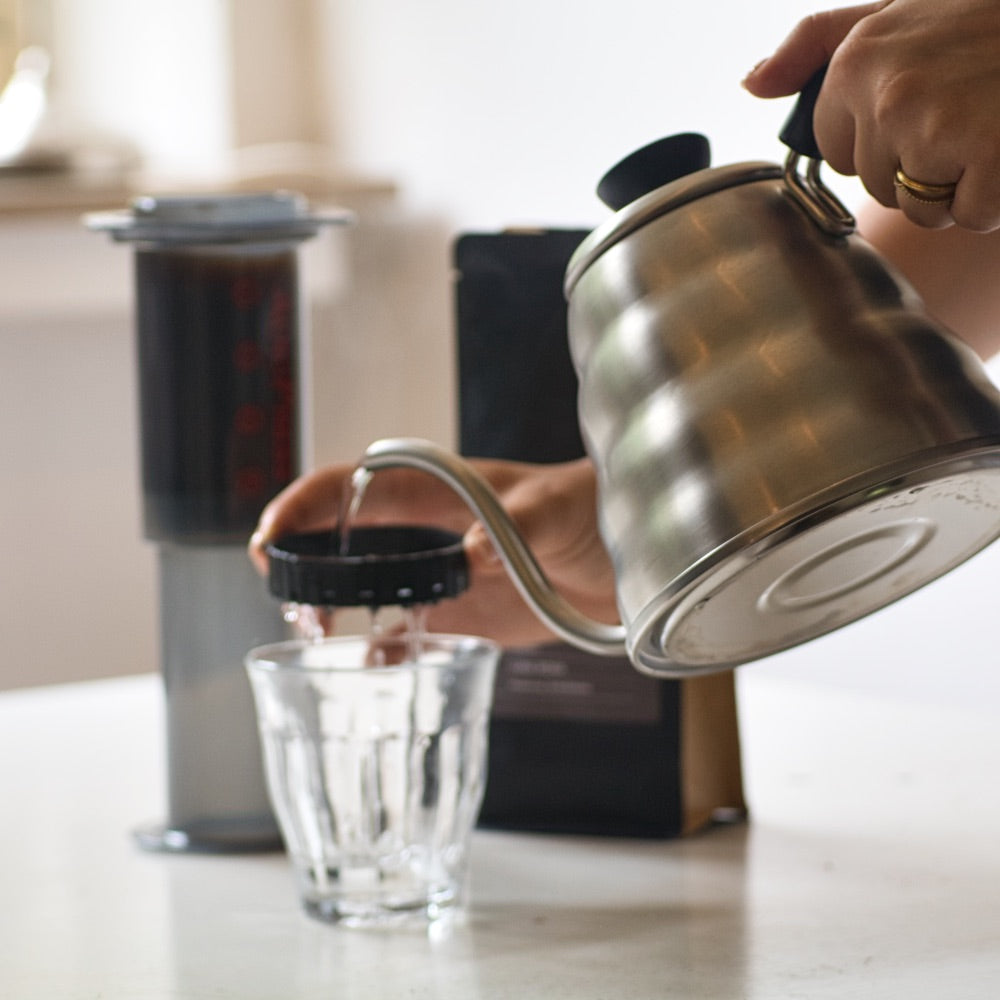
Prepare the filter. Insert a paper filter into the Aeropress's detachable plastic cap. As an option, the filter can be gently rinsed with water, so that it sticks to the cap in the inverted method.
STEP 4
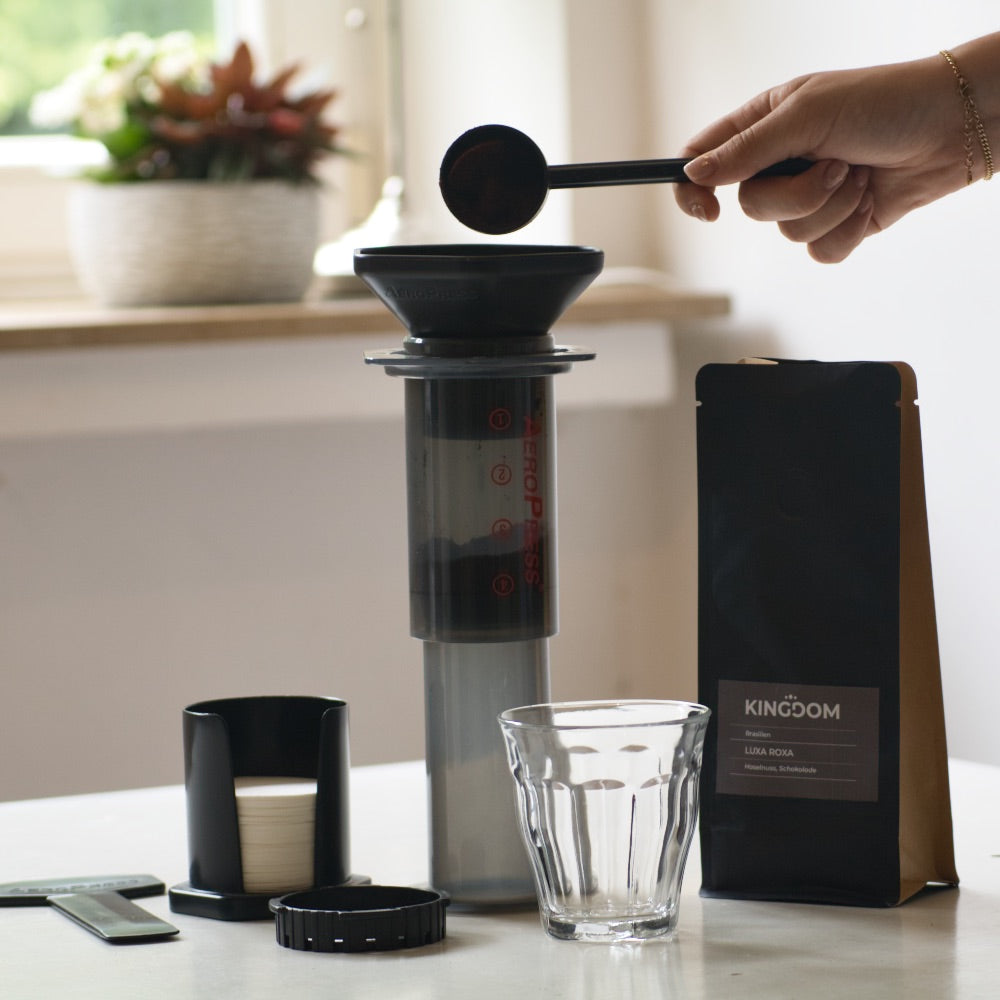
Carefully add the ground coffee using the funnel supplied. Shake gently to level.
STEP 5
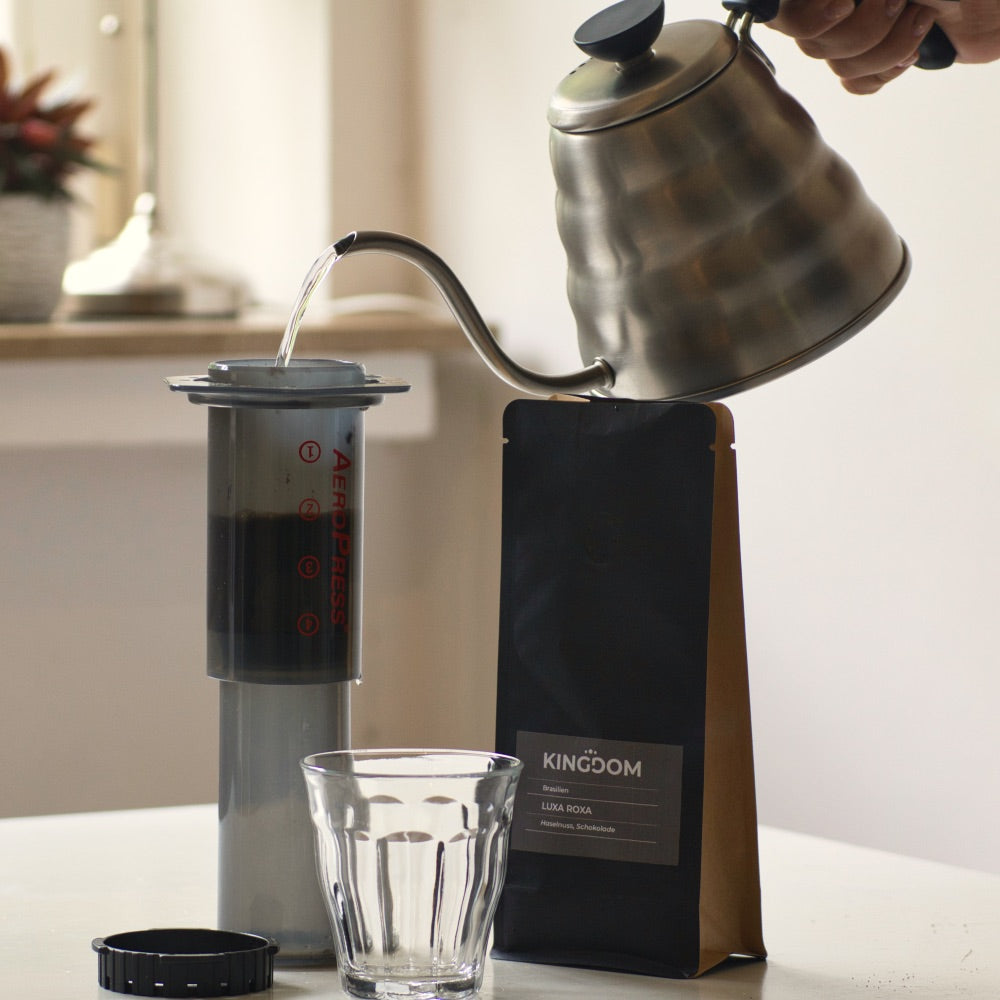
Pour the water into the Aeropress at approximately 93°C.
STEP 6
There is no need to wait for the bloom. You can immediately start agitating the ground coffee with the supplied stirrer, spoon or paddle (some people even use chopsticks). Ensure that the coffee is completely saturated. Fill the chamber to the nr. 1 mark (dependent on your recipe) when inverted. Fasten the cap and press out any remaining air.
STEP 7
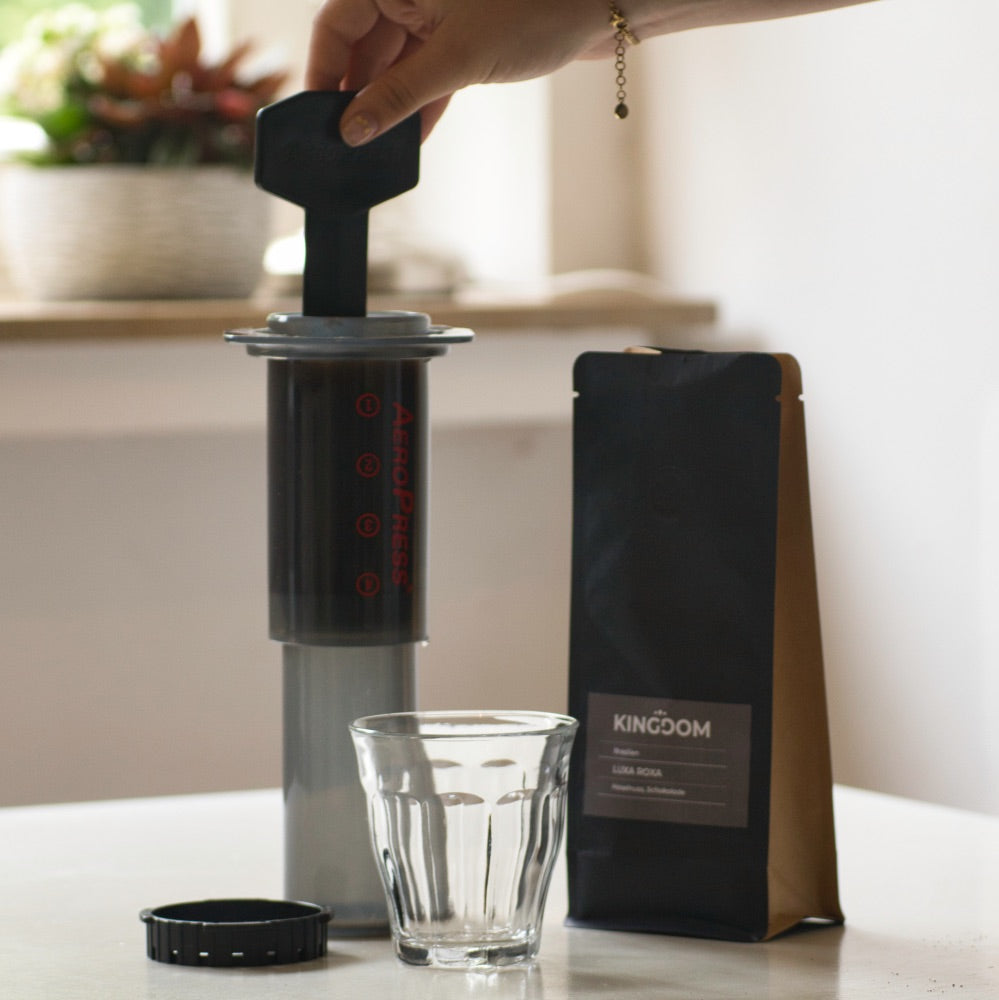
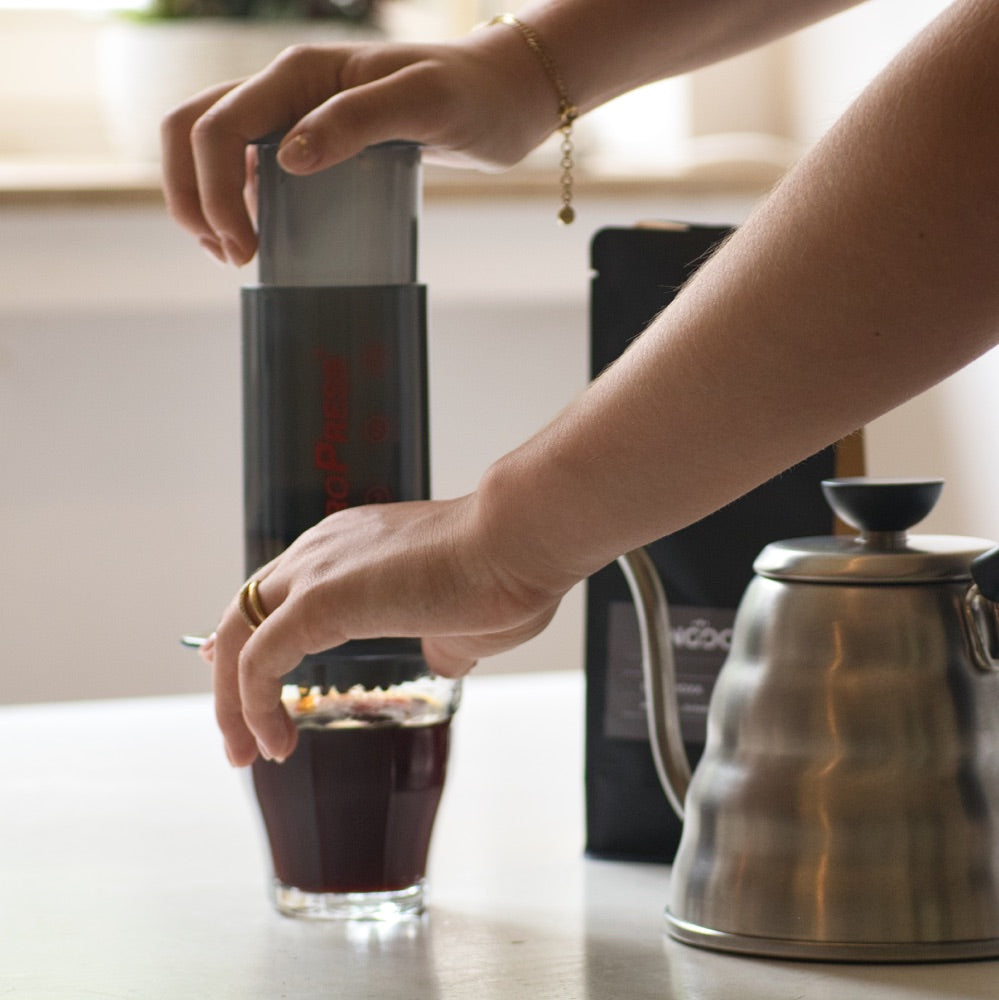
Swirl the coffee in the Aeropress while still inverted; this will help with the press down. Place the Aeropress filter down on a cup or pitcher. Ensure that it fits firmly. Hold the Aeropress at the bottom together with the container. Press down with gentle, firm pressure. If the pushing feels too easy, your grind is likely too coarse; if it is too hard to push, chances are the grind is too fine.
STEP 8
To clean the Aeropress, remove the cap and push the bpuck and the filter paper out. Rinse gently with mild detergent and water and place on the drying rack. Enjoy your freshly brewed Aeropress coffee!
Sour coffee means your coffee is under-extracted. Consider grinding finer.
Bitter coffee means your coffee is over-extracted. Consider grinding coarser.


